I packed my bags carefully. Very carefully.
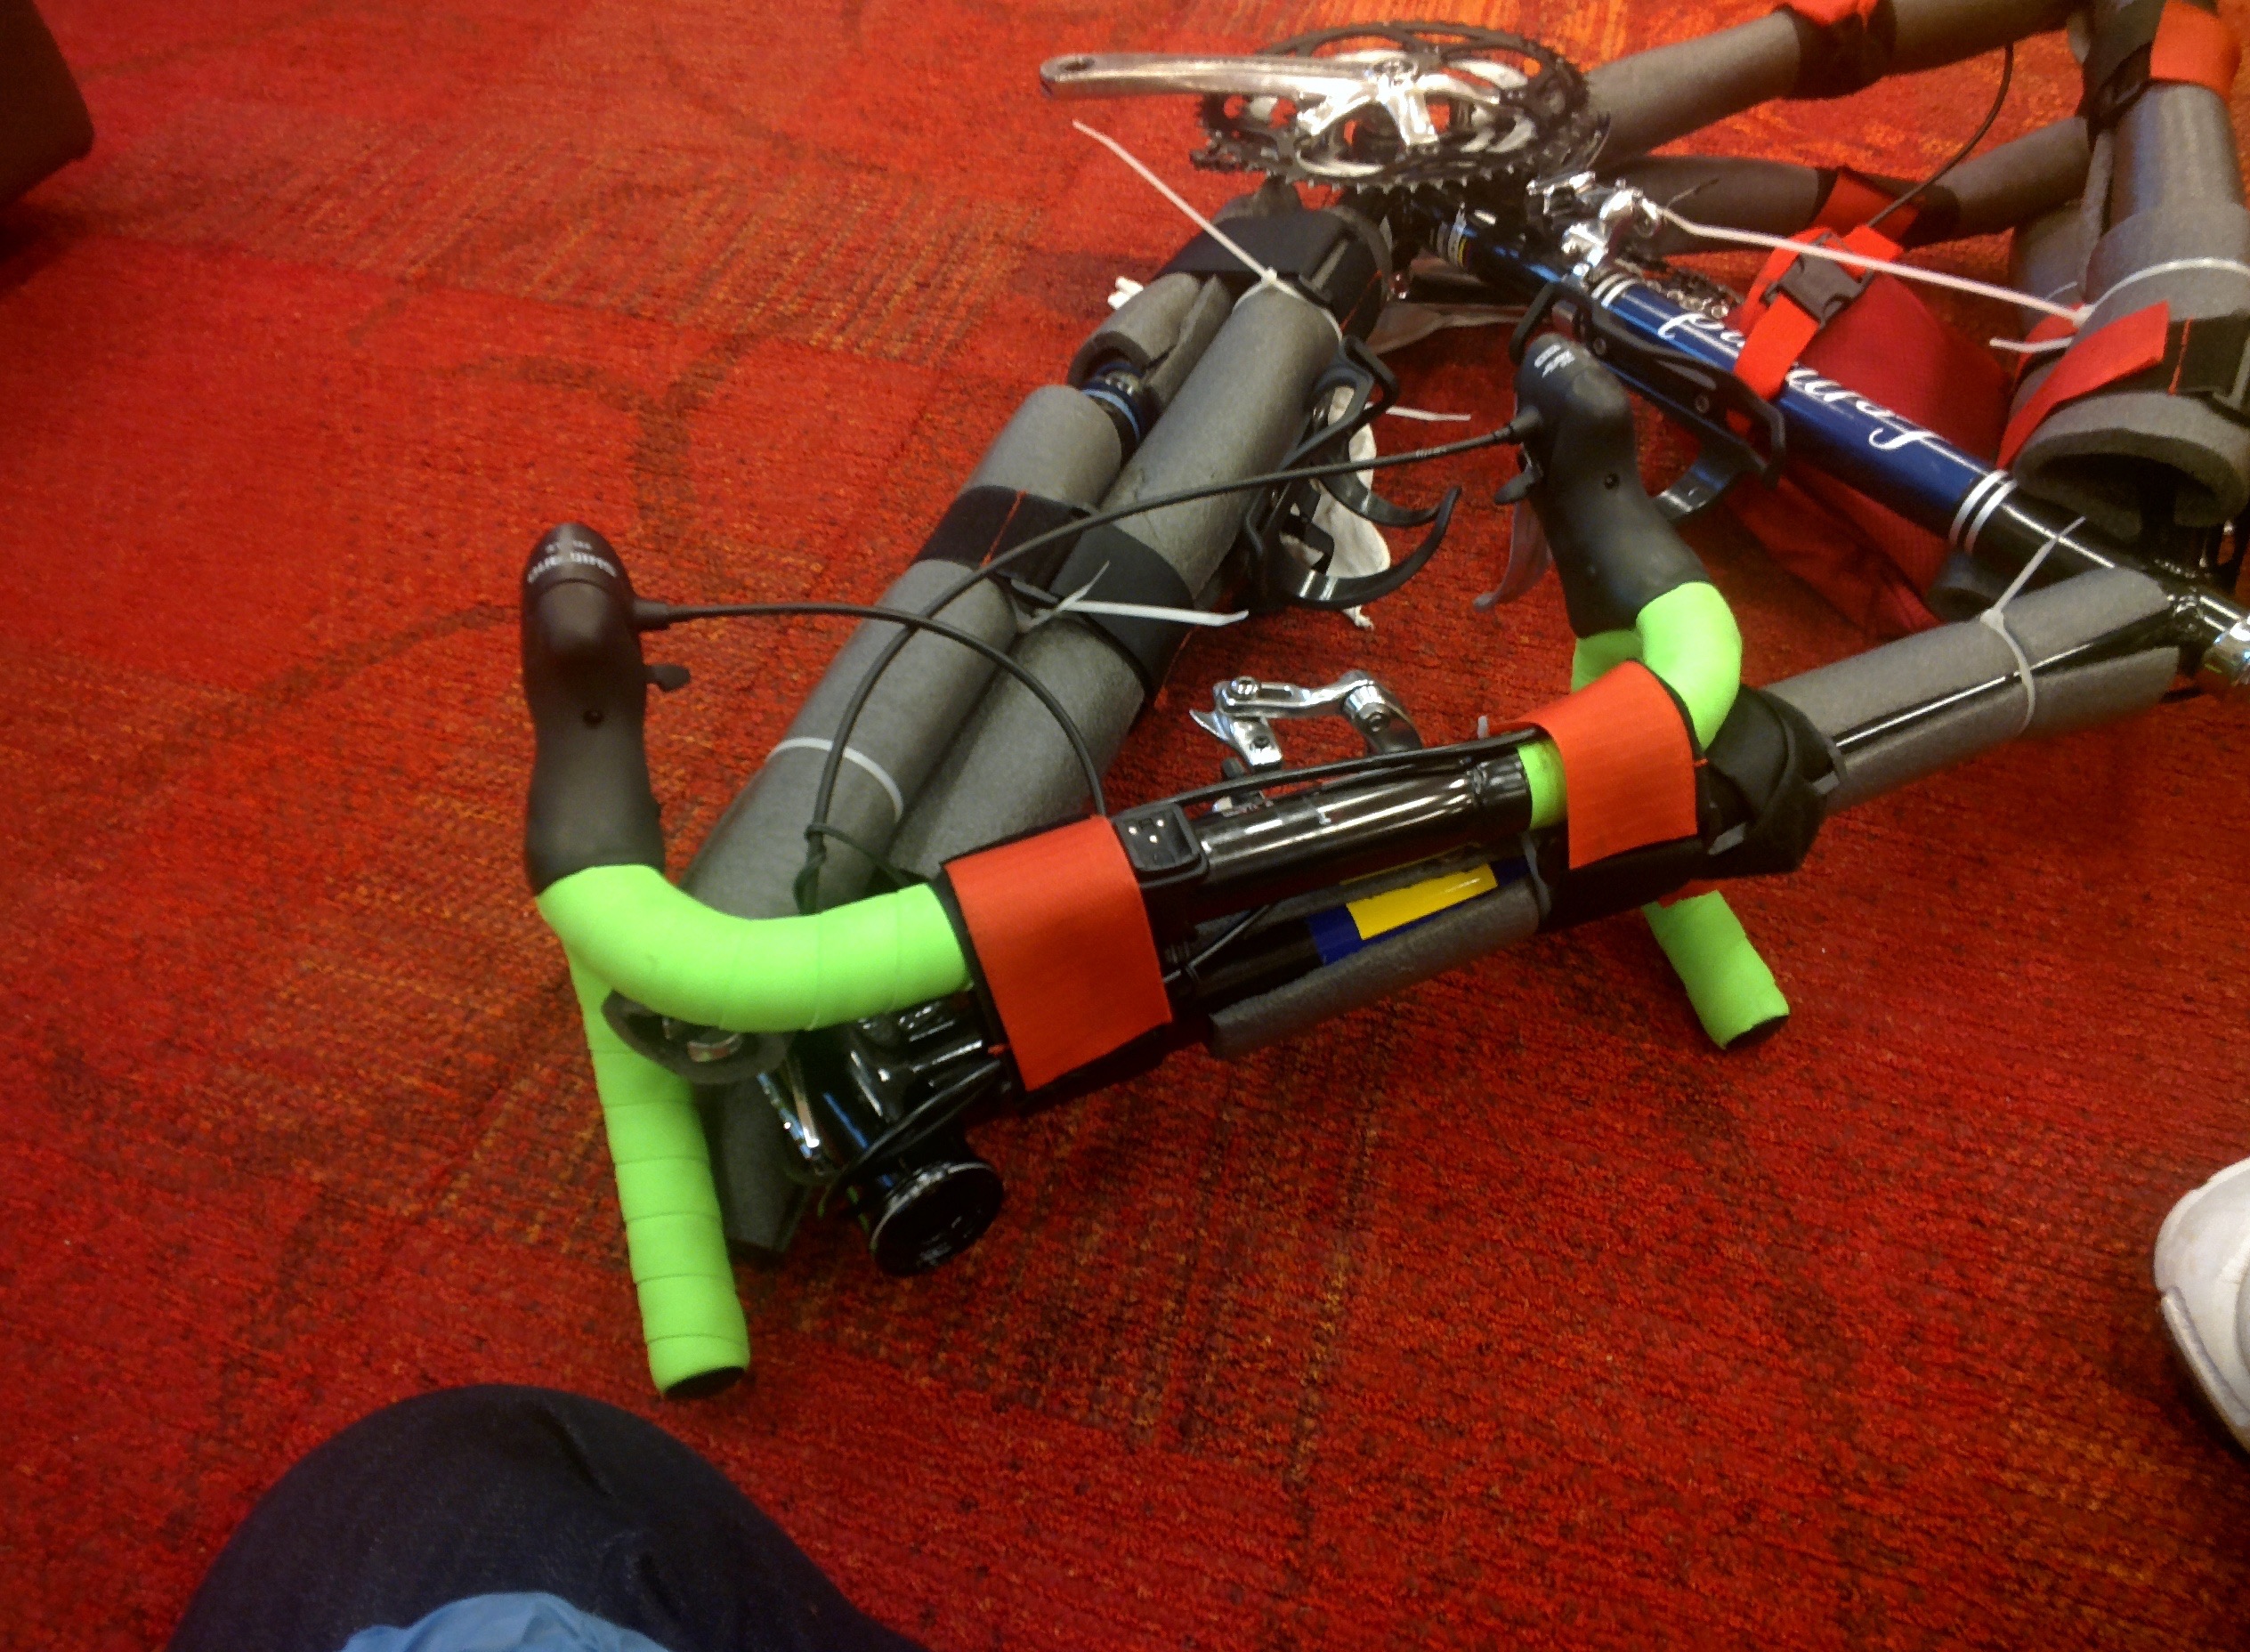
Do you know how to take apart a road bike down to the frame? I learned quickly, by packing my frame and wheels into a Ruster Armored Hen House.
Two standard sized bags weighing in each at 46 pounds and 26 pounds; one carry-on backpack with my laptop, essentials, medication, and epi pen. Every item was carefully checked and double checked. We loaded them into the car, and my husband bade me farewell and good luck at the airport.
I was off to Maui, HI for a triathlon camp. Over a week’s time, we would be riding four challenging cycling routes, running and hiking through a variety of different terrains and elevations, and swimming in the ocean.
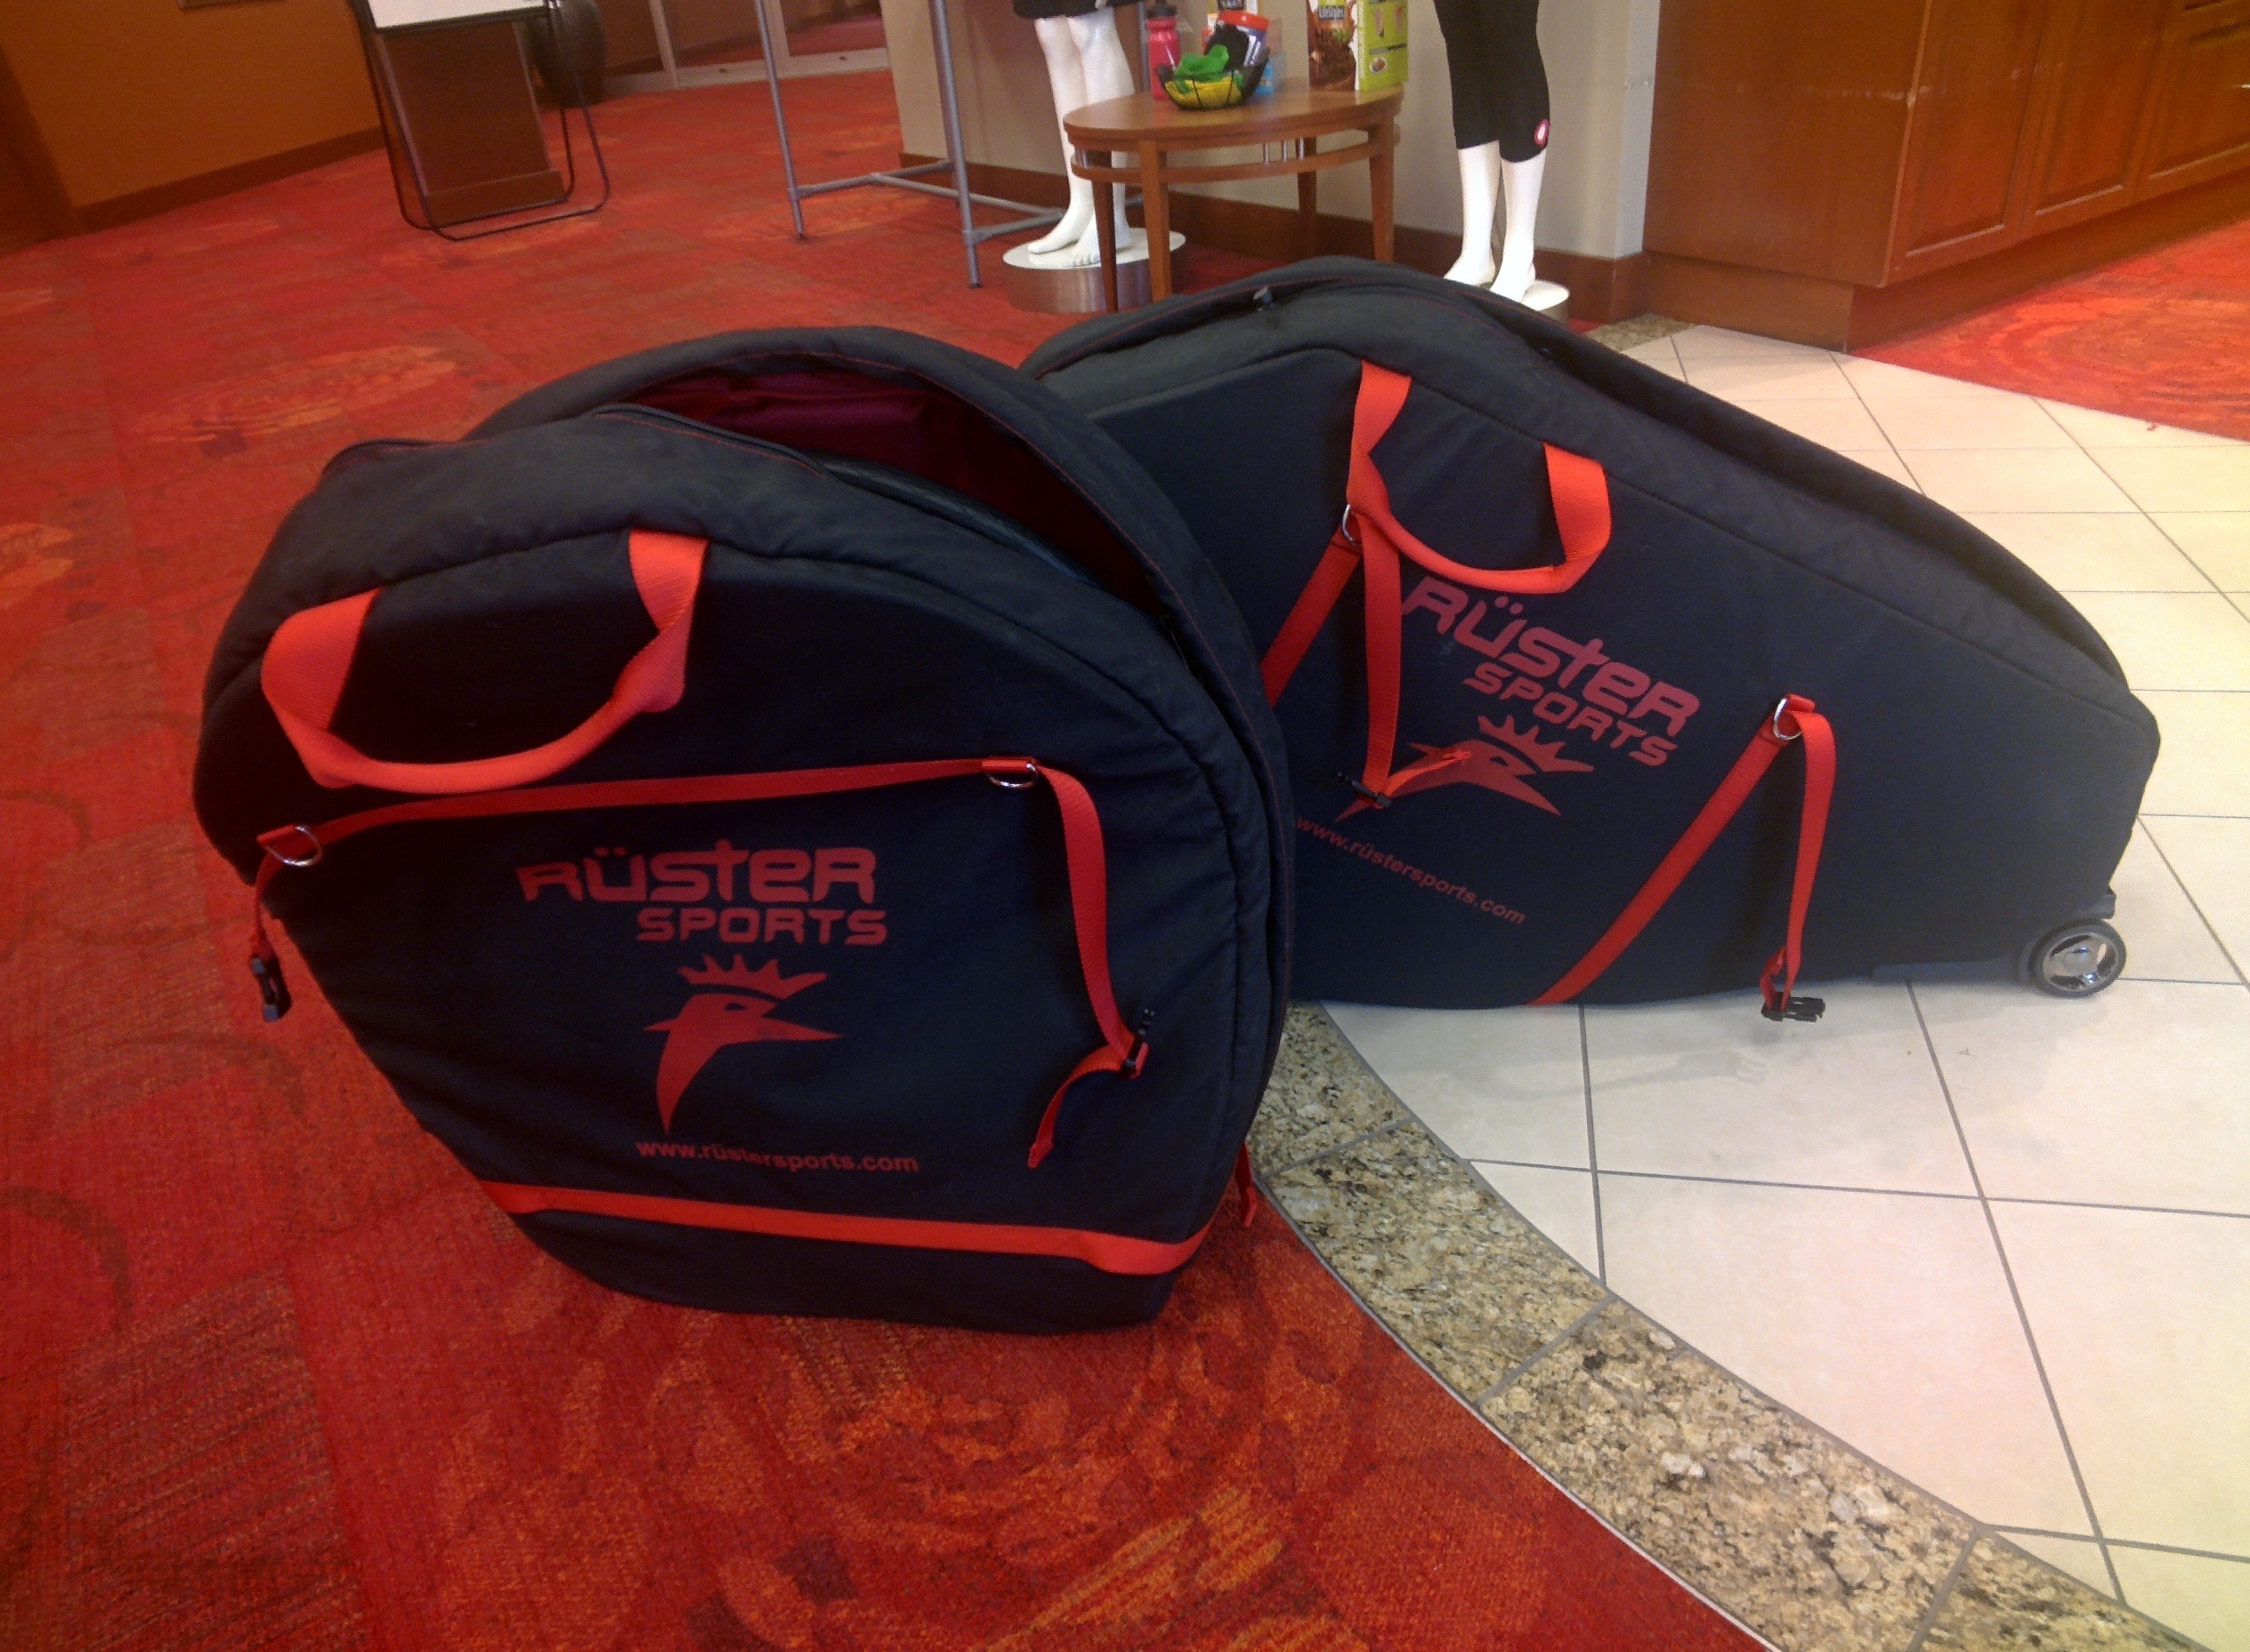
Want to fly your exercise equipment without being charged additional fees for oversized bags? Ruster Hen House does just that, in a bag that fulfills the requirement of being under 62 linear inches.
By the next day, I would have my bags unpacked, my dismantled road bike inside the two standard cases rebuilt, and I would be sailing down the coast of Maui towards the Maui Winery with the wind in my hair and water in my road bike bottles. However, man (or woman) cannot live on bread and water alone; in fact, I can’t really live on bread either! I would need to be able to feed myself for the duration of the demanding camp activities, as the caterer had let me know that she would be unable to safely meet my needs while feeding everyone else. I opted to cook for myself.
Life’s most beautiful adventures across your state borders and across an ocean require you to think about travel cooking beyond the confines of your kitchen. All journeys are really not so much about what you take, but what you leave behind. What can’t you live without, regarding a week’s worth of food?
In my last post, I gave you a glimpse into menu planning so you could think like a pro when it comes to organizing yourself for cooking for at home. When you travel, it’s even that much more important that you learn how to save time and money by planning carefully what you will need to eat, and how to create tasty, nutritious food that you will want to eat, especially when you’re tired and worn out from all your fabulous activities throughout the day.
Keep reading to learn more about how to cook for yourself when you arrive at your destination’s kitchen, and what I did to improvise.
The Team’s Tiniest Engine Still Needs to Eat
With the exception of one other athlete in my camp’s group of triathlete’s and cyclists, I was the smallest and lightest. The truth of the matter is this: when you are my size, the amount of food you can eat is quite surprising. So is my power-to-weight ratio, tee hee!
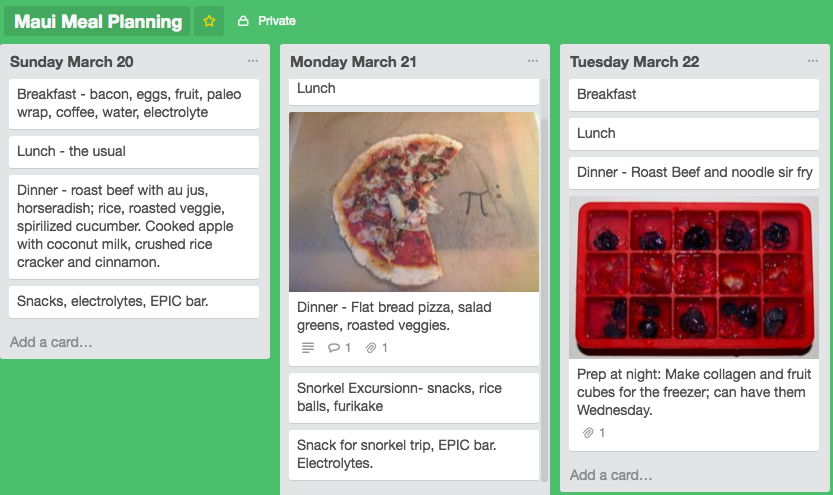
Screen shot of a portion of my menu plan I created for my trip. Matching food to activity helped me stay on top of my caloric demand.
In order to feed myself for a week, I looked at the trip’s itinerary and tried to match the food that would help me fuel up before and recover after each activity. Mornings before long rides, I planned for protein, a small amount of carbs, and fresh fruit; snacks included hard boiled eggs, dehydrated beef jerky, mandarin oranges, and sweet potato with maple syrup. Dinners would be chicken, beef, shrimp, or fish, along with vegetable and a scoop of rice.
I would be given access to the small commercial kitchen once at the beginning of the week (I used Trello.com to make a week menu and added a shopping list by taking a picture of a written one, based on the menu), and once again by permission; otherwise, the kitchen was being used constantly and therefore unsafe for me to cook at the same time as the caterer. Wheat flour could be in the air, or alliums on the stove top. The solution to my cooking challenge would be to arrive at the camp with enough dried food for one day, shop for everything at the beginning of the week, cook it all at once in a batch cooking session, and make do with a microwave and a mini refrigerator for the rest of the week.
I am not a big dessert person (surprise!), yet I planned on dessert twice during the week, and bought some expensive dark chocolate bars made with cacao nibs, rationing two pieces per evening to nibble on while everyone else ate their catered dessert. It satisfied any feelings of being “left out”, and allowed me to socialize without making anyone feel awkward or sorry for me when we ate in the dining area each evening.
Tips:
- Aim for 1.5 servings of each food item per meal, if you plan on being very active. Burning upwards of 4000 calories or more a day plus maintenance calories (what you need to eat to just be at rest and maintain weight), it may require eating 3-4 meals and two snacks. I got up once at night to eat a fifth time. Yet I still ended up losing 4.5 pounds by the end of the week! Talk about eating like a Hobbit!
- Batch cook everything you can in the oven using aluminum foil on top of baking trays, as you can cook lots of food at once, and it saves time with cleanup.
- Use a timer to keep track of which foods have been cooking for how long; it makes cooking multiple items easier. I used the timer on my iPhone.
- Let foods cool and then bag them in plastic tubs or plastic freezer bags and refrigerate.
- Buy a bag or box of wilted greens from a local farmer’s market or grocery store selling local organics, and make salads with your evening meals as well as wilting greens for morning breakfast wraps.
Your Mobile Food Truck (Or Bicycle!)
It would be a bit ridiculous riding up and down hills, against headwinds, around hairpin turns, and then trying to pull out a sammich from your bike jersey pocket. That won’t work. I’d probably crash first.
Most cyclists eat what we refer to as “race food” comprised of processed, easy-to-dispense gels, gummies, cookies, waffles, and powders that can be mixed with water. These are designed to deliver carbohydrates to help fuel athletes, and yet some are commonly known to cause gastrointestinal distress in more sensitive people. People with food allergies must carefully plan out a real-food strategy, and limit intake to these foods and just a couple of low-process, no allergen foods that have been tested and vetted beforehand. A great resource is the book, Feed Zone Portables, by Dr. Allen Lim and Biju Thomas. However, trying to do this in an unfamiliar kitchen with limited access might not be feasible.
I’ll be writing a post specifically about what to eat on long bike rides later, yet for now, I can point out a few tips that helped me take in enough nutrition without relying on race foods that bother my guts.
Tips:
- Have at least one packaged “safe food” that you can rely on, when all else fails. My go-to, fail-safe food is an EPIC bar.
- If there is van that will be carrying supplies such as food, water, and spare clothing, pack extra food and electrolytes into the supply van, and if possible, keep it in a separate, marked plastic bag and cooler. That will keep others from reaching in with their hands, or mistaking your food for community food.
- Always carry more electrolytes on your person than you think you need. I failed to carry enough on one ride and ended up with heat exhaustion and a short session of vomiting water on the side of the road.
- Use low fiber fruit to provide carbohydrates, especially if you can’t eat honey. You can also carry a gel flask with maple syrup if honey doesn’t work for you.
- In the United States, all Coca-Cola products are made with high fructose corn syrup. Some people with Celiac Disease, as well as some people with sensitive tummies in general, will react to corn; during intense exercise, ingesting corn in any form should be avoided.
- While I used flimsy plastic baggies for my food to stuff into my bike jersey, you can get resealable plastic flexible baggies that can be used over and over again. Blue Avocado sells a five-piece reusable starter set that seals tight enough to not leak.
With a bento box attached to my bike’s center bar and food stuffed into two jersey pockets, I could pack two mandarin oranges (peel and put in a baggie), two EPIC bars, a plastic baggie with beef jerky, a few almonds, dried fruit, and two bottles of water with Nuun electrolyte tablets, as well as plastic container filled with electrolyte tablets. I calculated about how long my food and water would last safely — about three hours of moderate exercise in the heat — before I’d need to stop and refuel. If you’re planning your own rest stops, it’s better to plan for extra food and one emergency food in case you end up being delayed (rain and intense heat can mean longer legs of a single ride).
Mini-Kitchen Madness
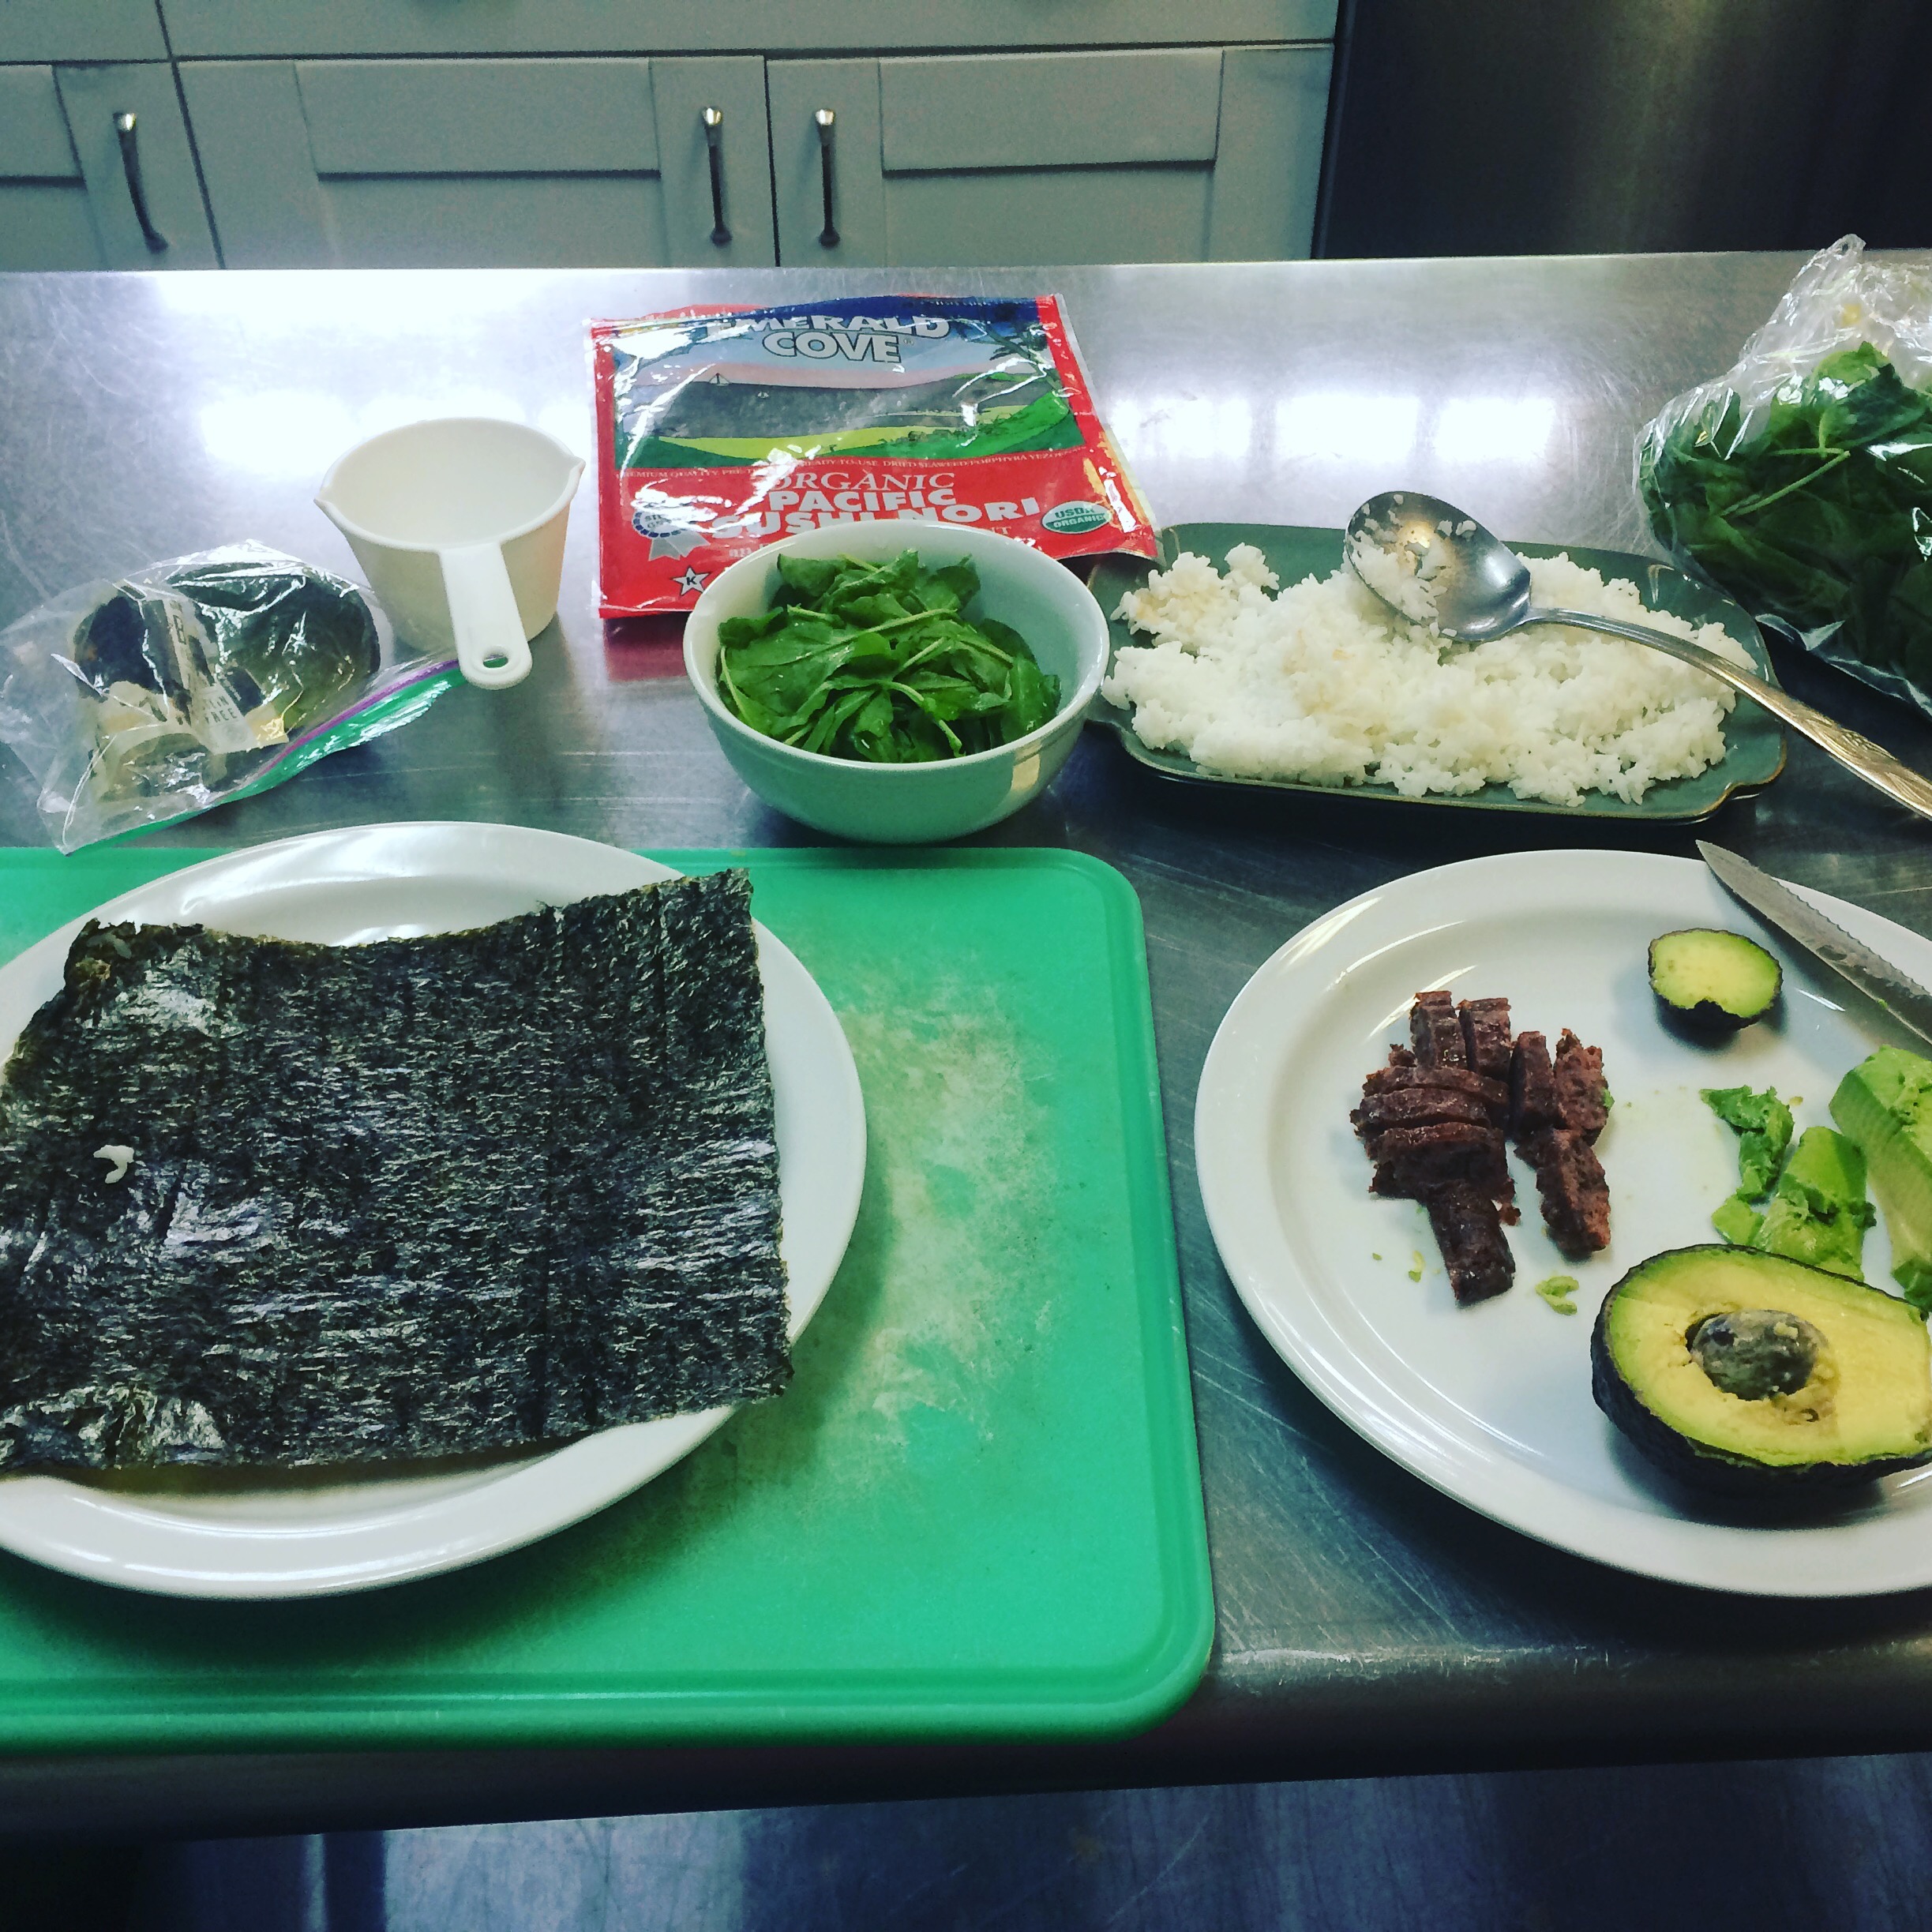
Most Bed and Breakfast suites and small hotels provide at least a mini kitchen stocked with a microwave, tiny refrigerator, kettle for tea, toaster, and perhaps a blender. In the picture above, a commercial kitchen was available to me twice, and I had a mini kitchen in my suite.
I don’t recommend using the blender or toaster of a hotel or B & B, as these are extremely difficult to clean completely of all cross contaminants to your food allergies. If you can, travel with a portable blender, such as a Magic Bullet high speed blender. And as I have mentioned before, you can turn a toaster upside down a half dozen times, and on the seventh time, you will still shake out a few gluten-y crumbs. Just say no to the in-house blender.
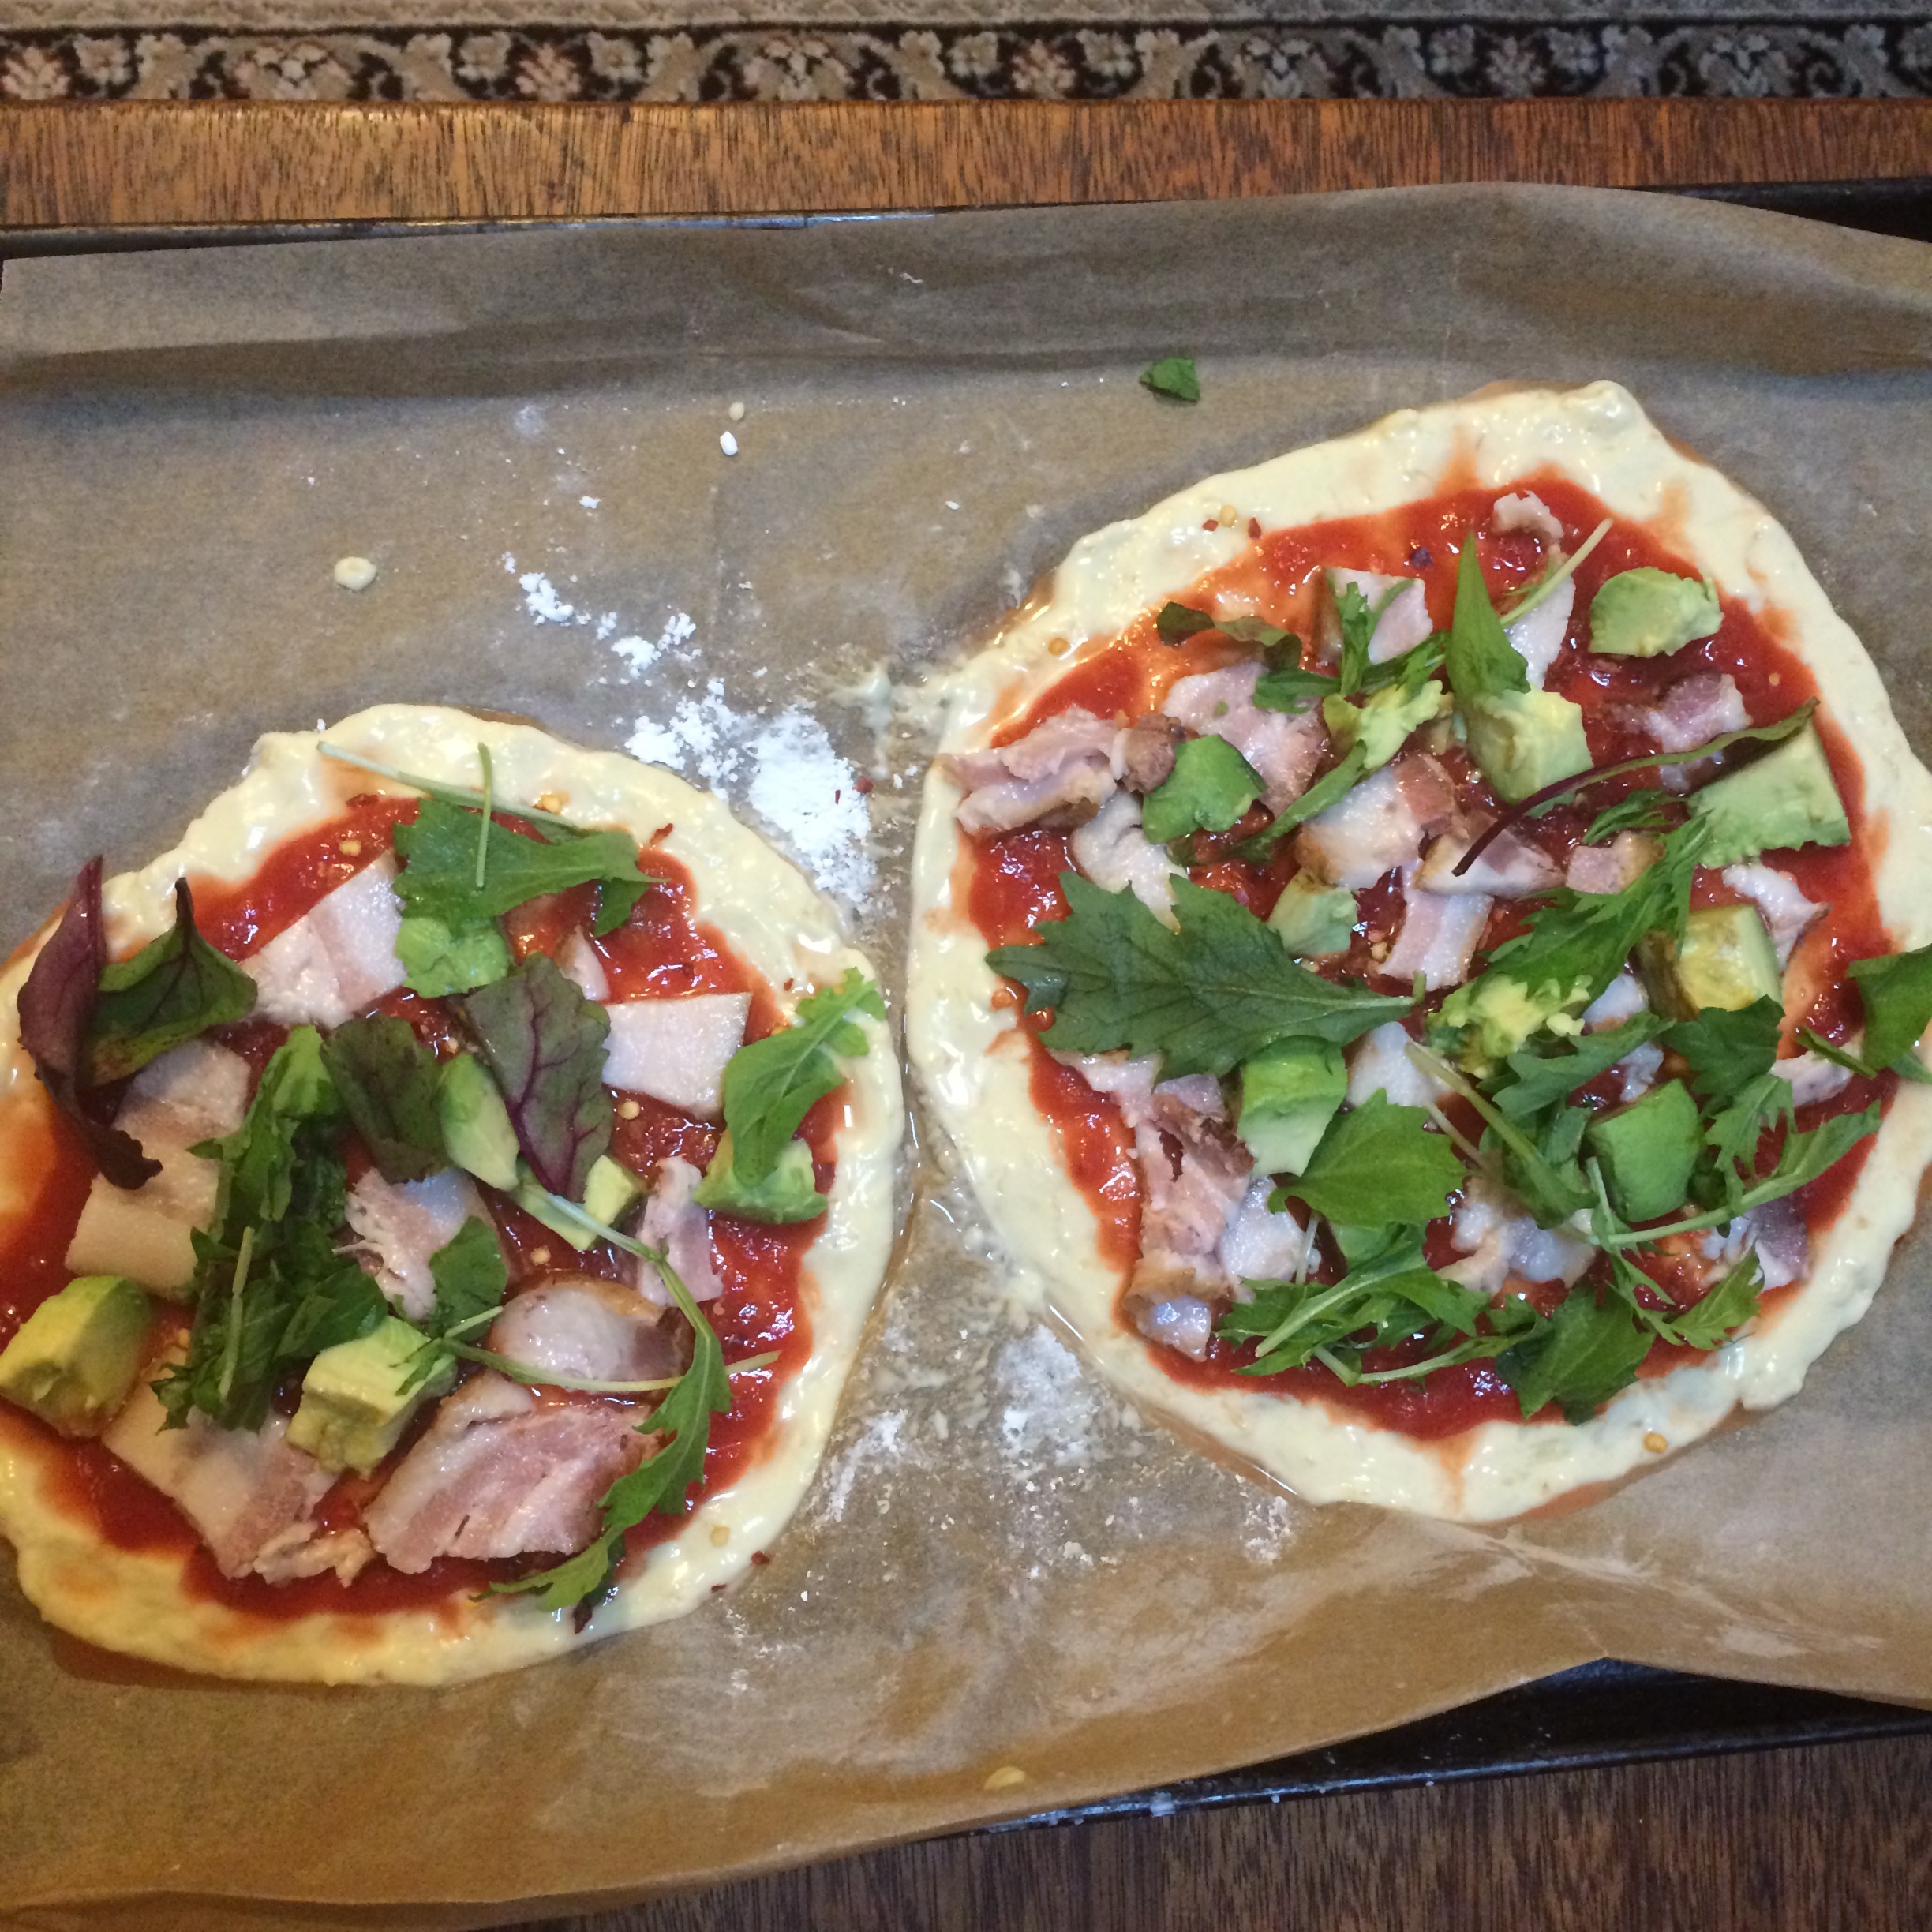
Instead, think about what you really want to eat that should be crisp, such as a gluten-free pizza. I packed a small bottle of imported Italian tomatoes that I used to make a pasta sauce as well as a pizza sauce, and used it in three different meals. The pizza crust was cooked and crisped on parchment paper in the oven, a much safer way to prepare my baked item, and an excellent way to protect food from other items baking in the same oven.
While I could tolerate bacon cooked in the microwave on paper napkins, how would I cook my eggs without access to a stove or pan in the morning? Ah, the tea kettle! It was an open lid styled kettle with a wide top. I used it to cook hard boil eggs, and used a rice cooker to steam a head of cauliflower to make cauliflower mashers, as well as make about four meals’ worth of white rice. I even boiled and reconstituted brown rice Phad Thai noodles in the tea kettle.
The most important thing I learned was to be flexible, work quickly, and focus on getting as much balance to each meal as possible. In a small kitchen, I really used the microwave, tea kettle, and the countertop surface to create a gluten-free, allergen free zone. Lucky for me, my roommate for the week (my “tri wife”), only needed a little space in the door for white wine. I pretty much took over the rest of the available space.
What to Bring From Home
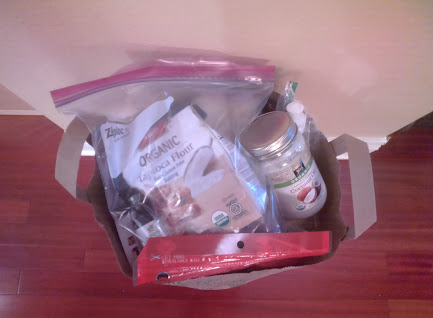
What do bring with you, and what do you leave behind, when you need to cook for yourself away from home?
There are some things you may want to bring from home because you don’t know if you can find them at your destination, or find them in small enough quantity to not waste in the end.
- Spices (Himalayan salt, chili flakes without alliums, special peppers, etc)
- Paleo Wraps from Julian Bakery
- Spring roll wraps (tapioca flour), excellent for fish and vegetable appetizers; rehydrate with water for a minute before loading with food.
- Dehydrated foods, such as homemade beef jerky, or homemade fruit roll ups
- Any brands of gluten free pastas or flours you are unsure if you can purchase at your destination. I like Tinkyada brand pasta, and Arrowhead Mills tapioca flour
The majority of things you should reserve for purchasing at your destination should be fresh foods, such as meats, fish, cheese, fruit, and fresh juice, and anything too heavy to fly with, such as coconut oil, cans of coconut milk, and your standard nut butters if you are not allergic. I like to buy a small bottle of 100% cranberry juice, cut it with water, and drink a little of this each morning with breakfast, as a prophylactic method of warding off UTI’s. I did get a shocker; at the store, the only tub of almond nut butter they had was one for $21.99. Speciality items like nut butter are shipped in and thus have a steep markup. It was a no for me.
By the end of the week, I had almost no fresh food left, and just a few canned items that I could give away to those remaining after the camp, donate, or take back with me to Seattle on the return flight. I heard from the couple who I gifted with a bag of rice and a can of coconut milk: sweet rice pudding.
All in all, I had a lovely experience, full of epic bike rides and absolutely no Grumpy Tummy days. I even remembered to pack my dried food for the flight over, so I had a nice lunch on board. With careful planning, you can travel to almost anywhere you like. Food can still be fun, and so can your trip.
—
Post Script: with my standard bags repacked, they weighed in at 42 pounds and 23 pounds, well below the 50 pound limit per bag. Therefore, I was not charged a fee for any of my bags., which ends up saving me about $150 RT.


