Making gluten free thin crust pizza, even while away on vacation. Try baking them on parchment paper for easy clean up.
Ever since I ate a gluten free pizza in a restaurant ( since rebranded, “gluten friendly”) and landed in the hospital, I have understandably been reticent to eat another gluten free pizza outside of the one I mix, roll, top, and bake at home under my watchful eye. Even with medical insurance coverage, my total out-of-pocket expenses from start to finish, including vomiting and diarrhea, low blood pressure, electrolyte imbalance, and six weeks of brain fog, fatigue, Leaky Gut Syndrome, low appetite, weight loss, muscle weakness, joint inflammation and rashes, and medication added up to nearly six thousand dollars.
That’s one expensive gluten-free pizza, don’t you think?
That’s not to say I didn’t eventually put my big-girl panties on and head back to the scene of the crime, confront my fears, and try again*. It took over a year, but I did go back, if but to embed in my brain what I think a gluten-free pizza should taste and feel like, only without cheese, emulsifiers, alliums, gluten, or corn. In that reconnaissance mission, I was taking notes for the future gluten pizza I would someday create.
Then I bade that crusty outer layer of bread farewell, and moved on. Let’s just say, I might have walked out the door while flipping the middle finger. It was the last good-bye.
When I think of pizza, I think of a thin crust with uniform edges, chewy in texture, with a mixture of crunchiness on the very edges and a slightly spongy softness that allows you to embed sauce and toppings in such a way that if you were turn a wedge of it upside down, very little of the toppings, if any at all, should rain onto your plate.
The agony and the ecstasy of gluten free pizza crust is the dry-flour crumble factor versus the chewiness of dough when you add an emulsifier. For people like myself, and perhaps the majority of the Hungry Minions looking for gluten free pizza because of a medically-restricted diet, an emulsifier just isn’t going to work. The most common one, xanthan gum, which is often added to commercially pre-prepared gluten-free pizza crust mixes, is commonly sourced with corn. And if I didn’t mention it to you before, you should know that many people who aren’t directly allergic to corn, but are food sensitive and suffering from Leaky Gut Syndrome, are going to struggle with a Grumpy Tummy when they ingest xanthan gum.
What if I were to tell you that I believe I’ve stumbled across the solution: an emulsifier-free gluten free pizza crust that you can top with your favorite ingredients, and can be made egg free if you wish?
Read on!
The Best Gluten Free (Emulsifier Free) Pizza Crust. Ever
I thought I should cite at least half a dozen different gluten free pizza recipe authors out there. The one recipe I borrowed most heavily from is found on Gluten Free Living, only I completely departed from the toppings.
The final crust was made by trial and error of all of them, taking the “best of”, and experimenting over the past four months. Some were better than others, but I finally went with this:
Pizza Crust:
1/2 cup heaping cup plain sauerkraut, strained completely of all juices (use a towel to squeeze out and then measure)
1-1/2 to 1-3/4 cups all purpose gluten free flour, no xanthan gum added
1/2 cup Coconut flour**
½ teaspoon sea salt
2 eggs, beaten (chia egg, or add more oil, to make egg free)
water added bit by bit
1 tablespoon olive oil or coconut oil, melted
Parchment paper, for easy transfer to oven and clean up.

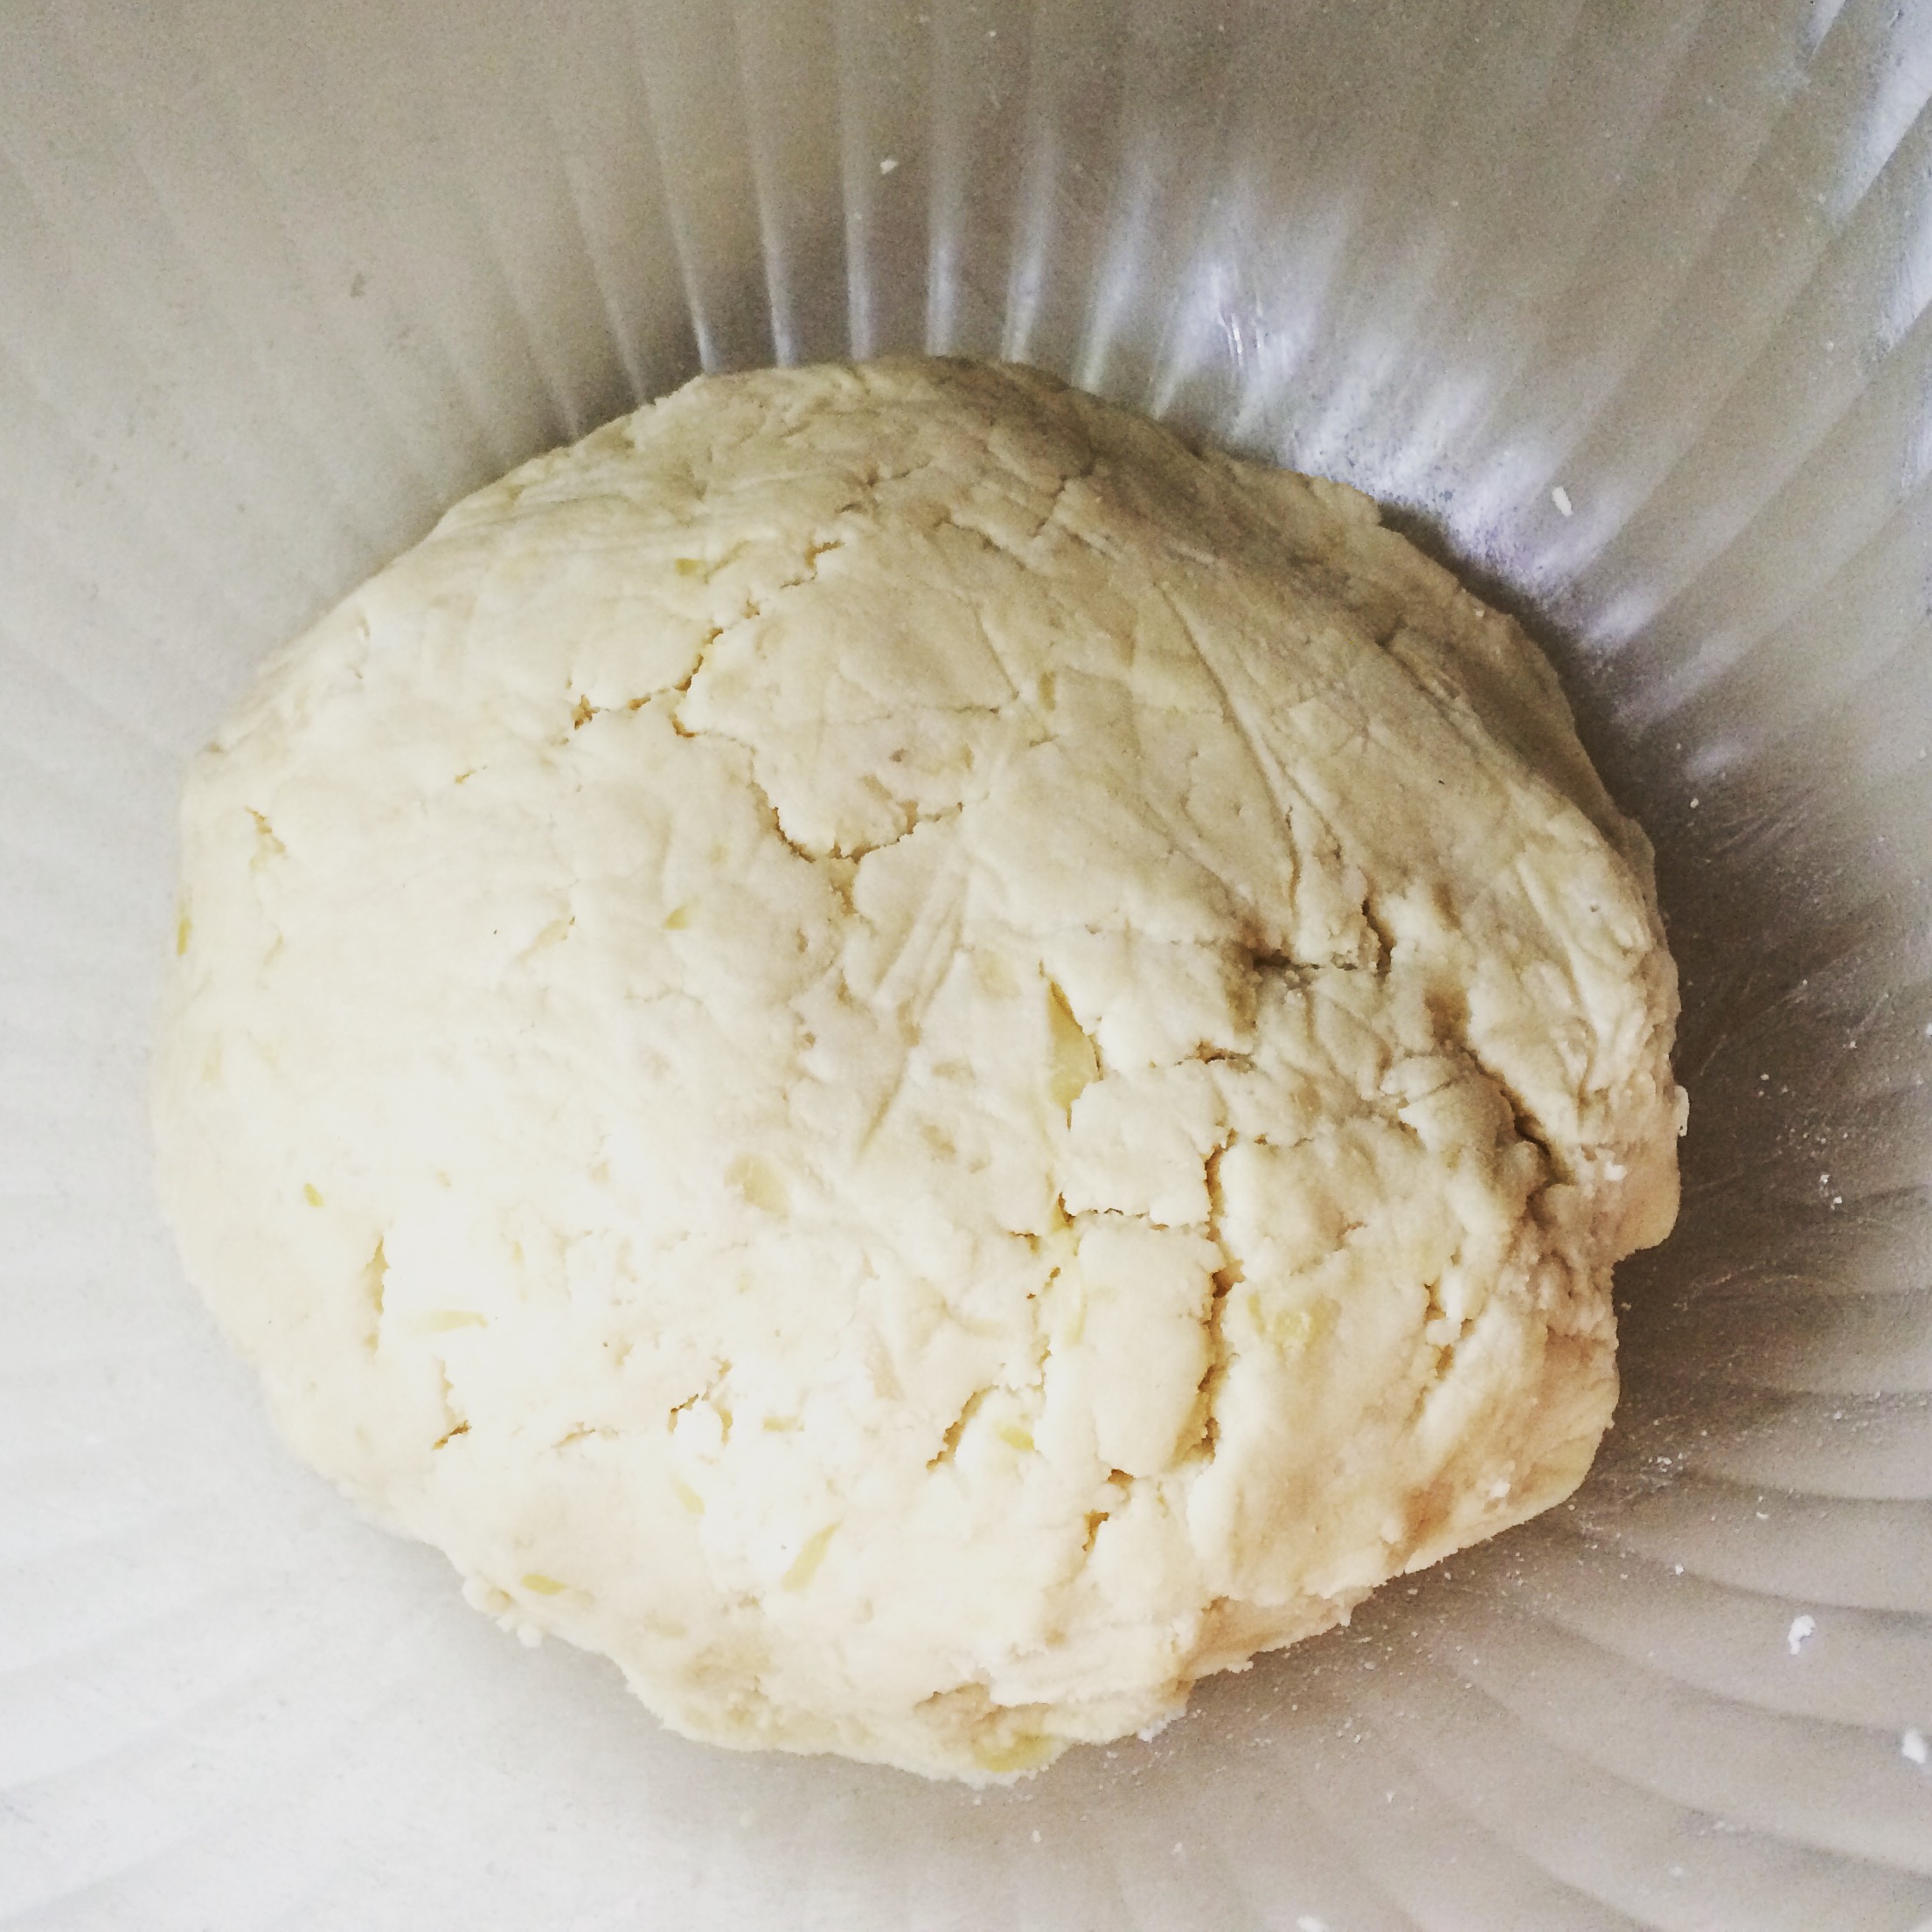
Pizza dough, after kneading and adding water bit by bit. Sauerkraut bits hold the dough together, substituting for an emulsifier.
Using your hands (or nitrile gloves if you prefer), mix the sauerkraut, flours, salt, and two eggs in a medium-sized mixing bowl. Add water, bit by bit, mixing and kneading it in, along with the oil. You should end up with a moist but not doughy, well-kneaded ball. Cover with plastic wrap and allow to chill in the refrigerator for a couple of hours; overnight is ok too.
When ready to roll it out, knead a few times in the bowl, separate into two balls, and using your hands, begin to flatten and spread one dough ball at a time into a pizza crust shape onto parchment paper. Work from the center and press out towards the edges. A rustic, tear-drop shape for a pizza is also a nice, homemade look.
When you get the pizza to be uniformly flattened, use the flat side of your hand to create the edge of the pizza, creating a small rim. Add a thin layer of sauce.To date, I have been unable to find an allergen-free pizza sauce, so I usually use a simple diced tomato puree, and add my own spices (salt, pepper, and allium-free chili flakes). My current favorite: Jovial diced tomatoes.
Heat the oven to 400F. Keeping pizza crusts on the parchment paper, transfer directly to oven, no baking sheet needed. Bake the pizza crusts with no other toppings for at least eight minutes (depends on your oven); crust should still be soft and pliable, and browning on the edges.
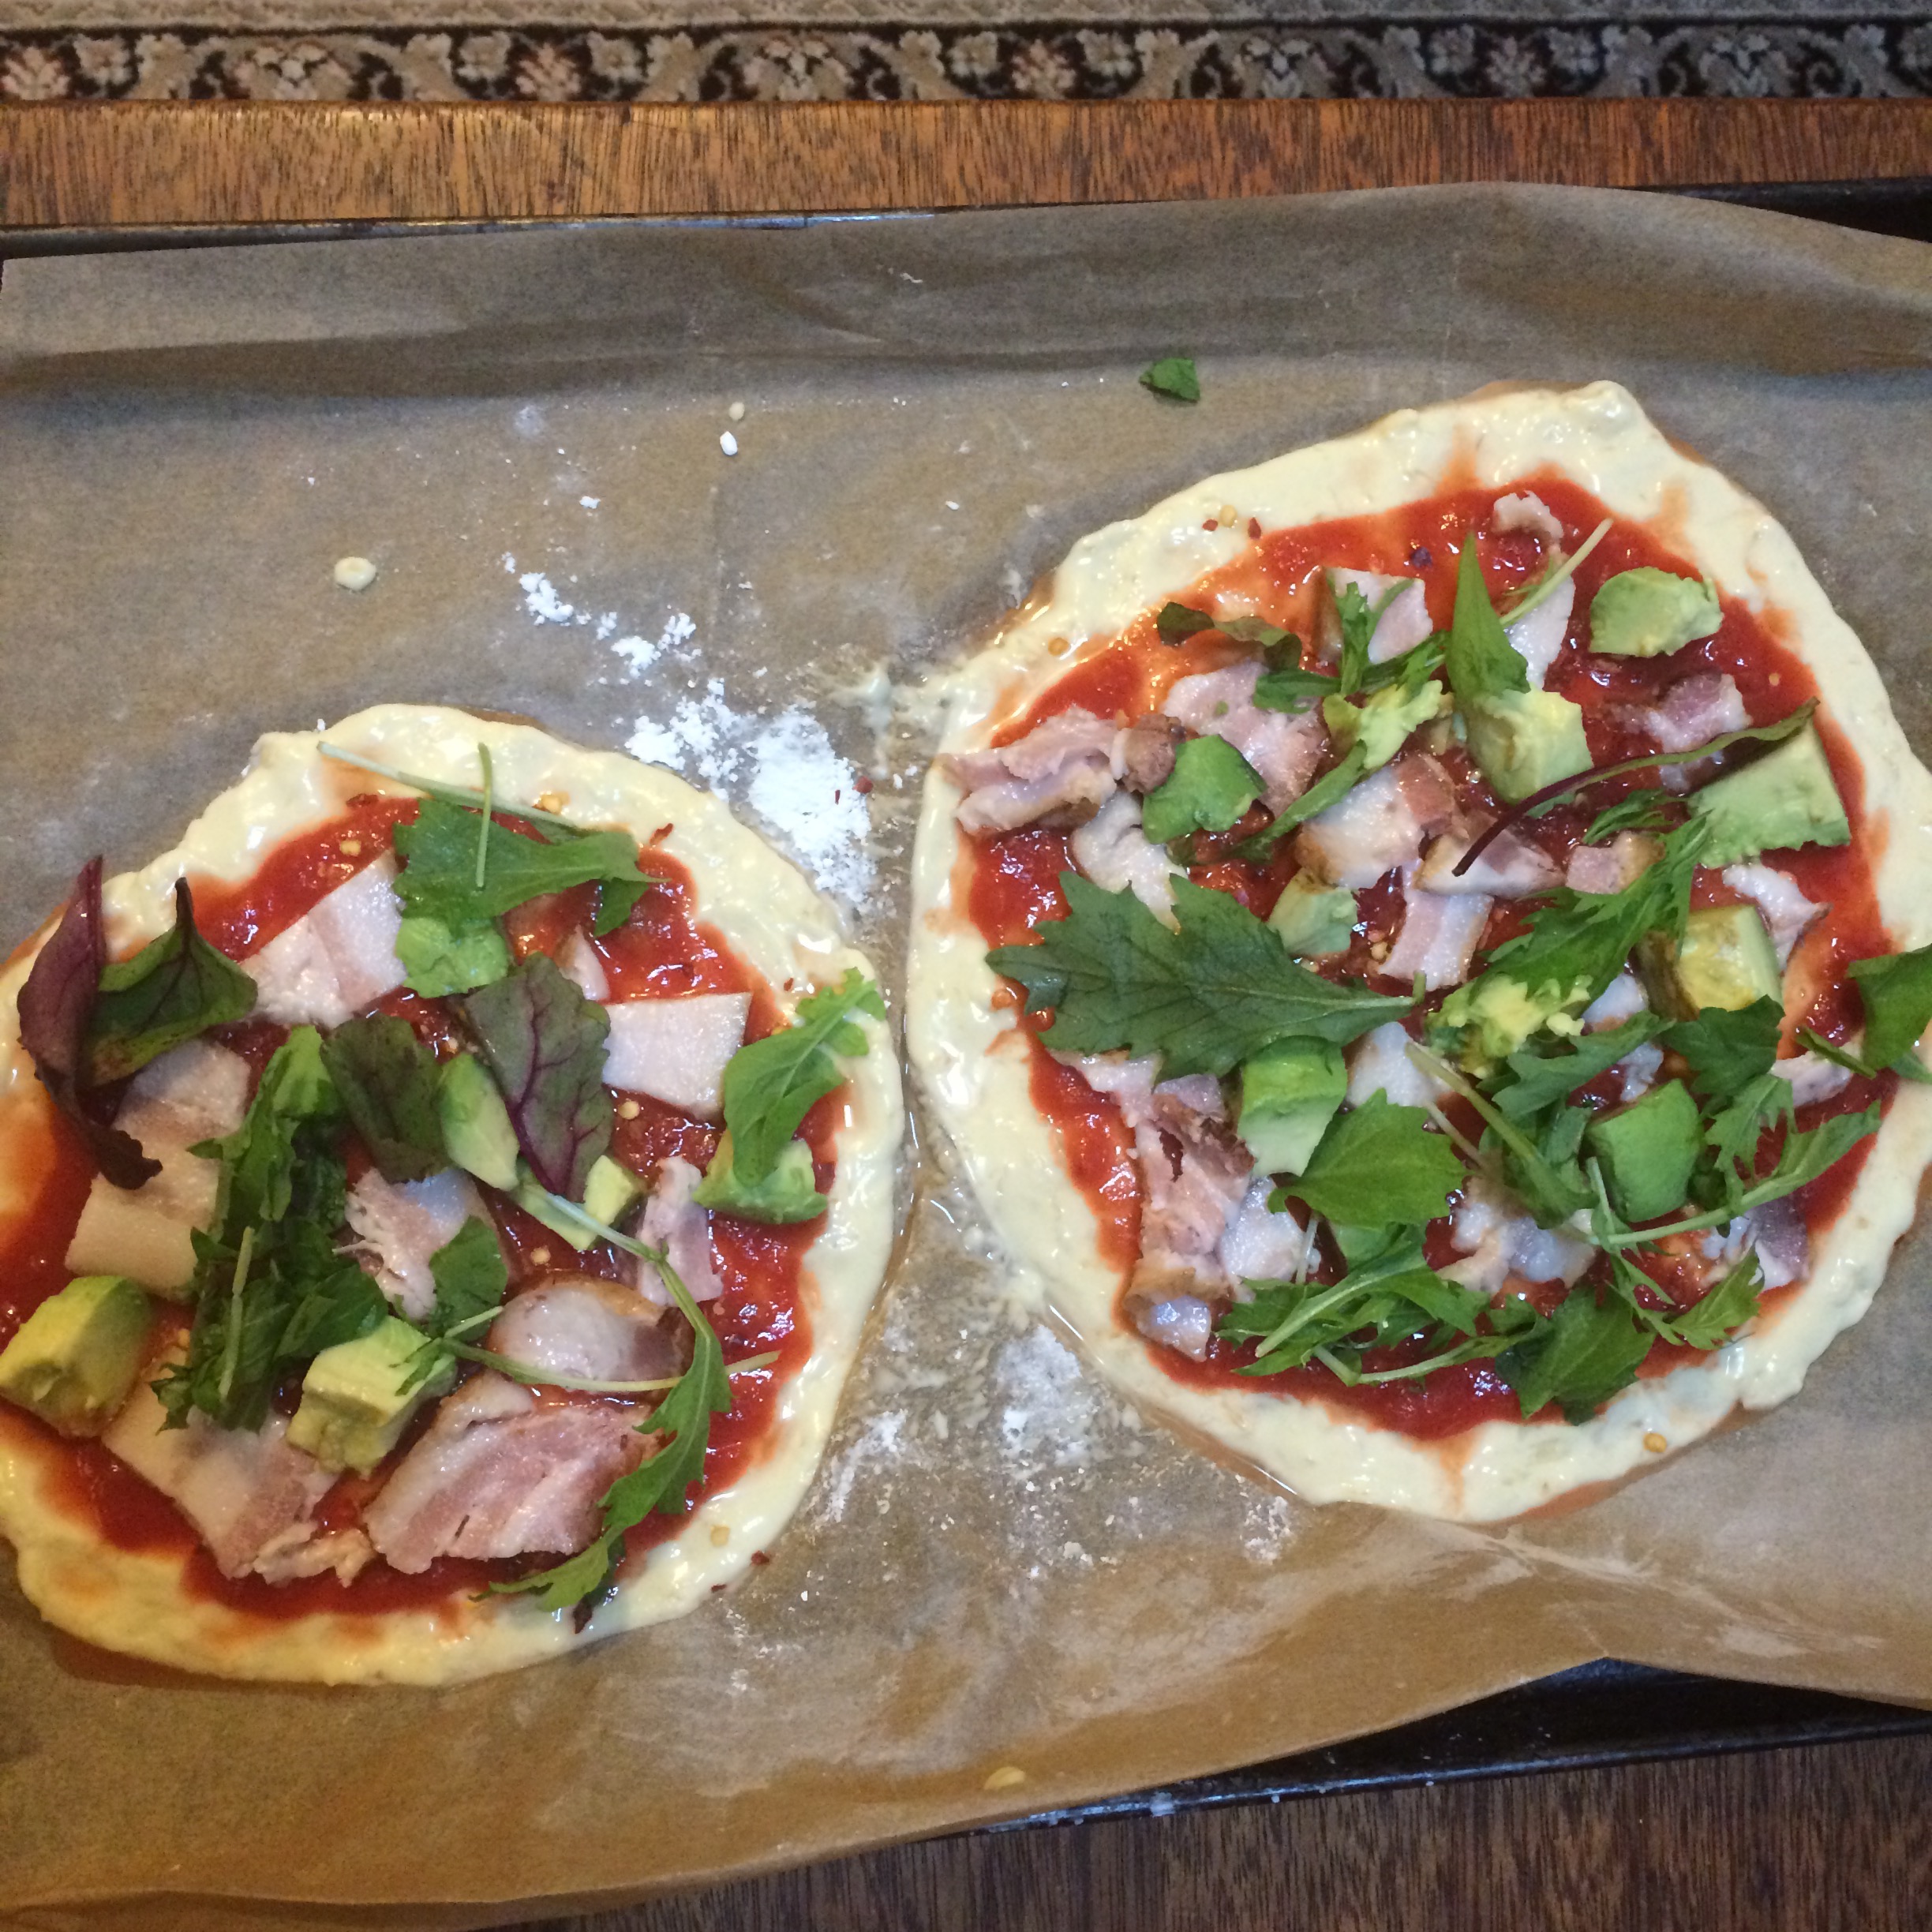
Add a thin layer of toppings. If they are toppings that take a long time to cook, cook them half way through on the stove top separately. Here are some suggested items:
Meat:
Shredded or cubed chicken
Cubed duck (yes, you read that right — DUCK!)
Cooked ground beef or ground bison
Unspiced and fresh, cooked sausage (no fillers)
Bacon pieces or ham (see my substitute for pineapple, below)
Vegetable or Fruits:
artichoke hearts (cut thin)
cubed avocado
mushrooms
wilted greens, arugula
sliced dates (instead of pineapple)
thinly sliced mango
For tummies that can have small amounts of goat dairy, crumbled chevre or grated goat cheese (like Drunken Goat) can be placed on the layer just above the tomato sauce. Easy does it.
Press toppings gently into the sauce until it makes contact with the pizza crust. Bake topped pizza for an additional 5-7 minutes. Crust should be browned but not tough; all toppings will be thoroughly baked.
My personal test of a good crust is that you should be able to flip a piece of the pizza crust over, and none of the toppings should fall off, nor should the crust crumble. Of course, if you were too generous with the volume of toppings you placed on each section, this won’t apply! I tried this test on three separate pizza-baking sessions, and each time the crust passed this test.
However, the best test of all — and perhaps the one we all care about the most — is what happens if you offer a piece to someone else. Will s/he eat it? Will s/he like it? I handed a piece to my husband, and instead of him wrinkling his nose at it (he’s a gluten-eater, what can I say?), he ate it and said it was good.
Trust me, he doesn’t say it’s good if it’s not. He’s tried my other experimental crusts, and he’s seen my “food frown” when the crust disintegrates in my fingers, is harder than diamonds, or has a wimpy surface that couldn’t hold its sauce.
I performed a final test: baking it when away from home. Different oven, different elevation, different toppings, but same crust ingredients. I had to substitute another flour for coconut flour, and yes, the crust texture was less crispy, but it still worked.
Now, I don’t think about going out for gluten-free pizza. Why would I go out, when the pizza crust I’ve been wanting is right here in my own kitchen? When you realize no one can make it better — and safer — than you, the only thing left to add is lovely friends and family, happily eating the best gluten free pizza pie. Ever.
Let’s keep making food fun again! And when you try it at home, please take a moment to send me a picture. With your permission, I’d like to get these pictures up on the blog for everyone to enjoy.
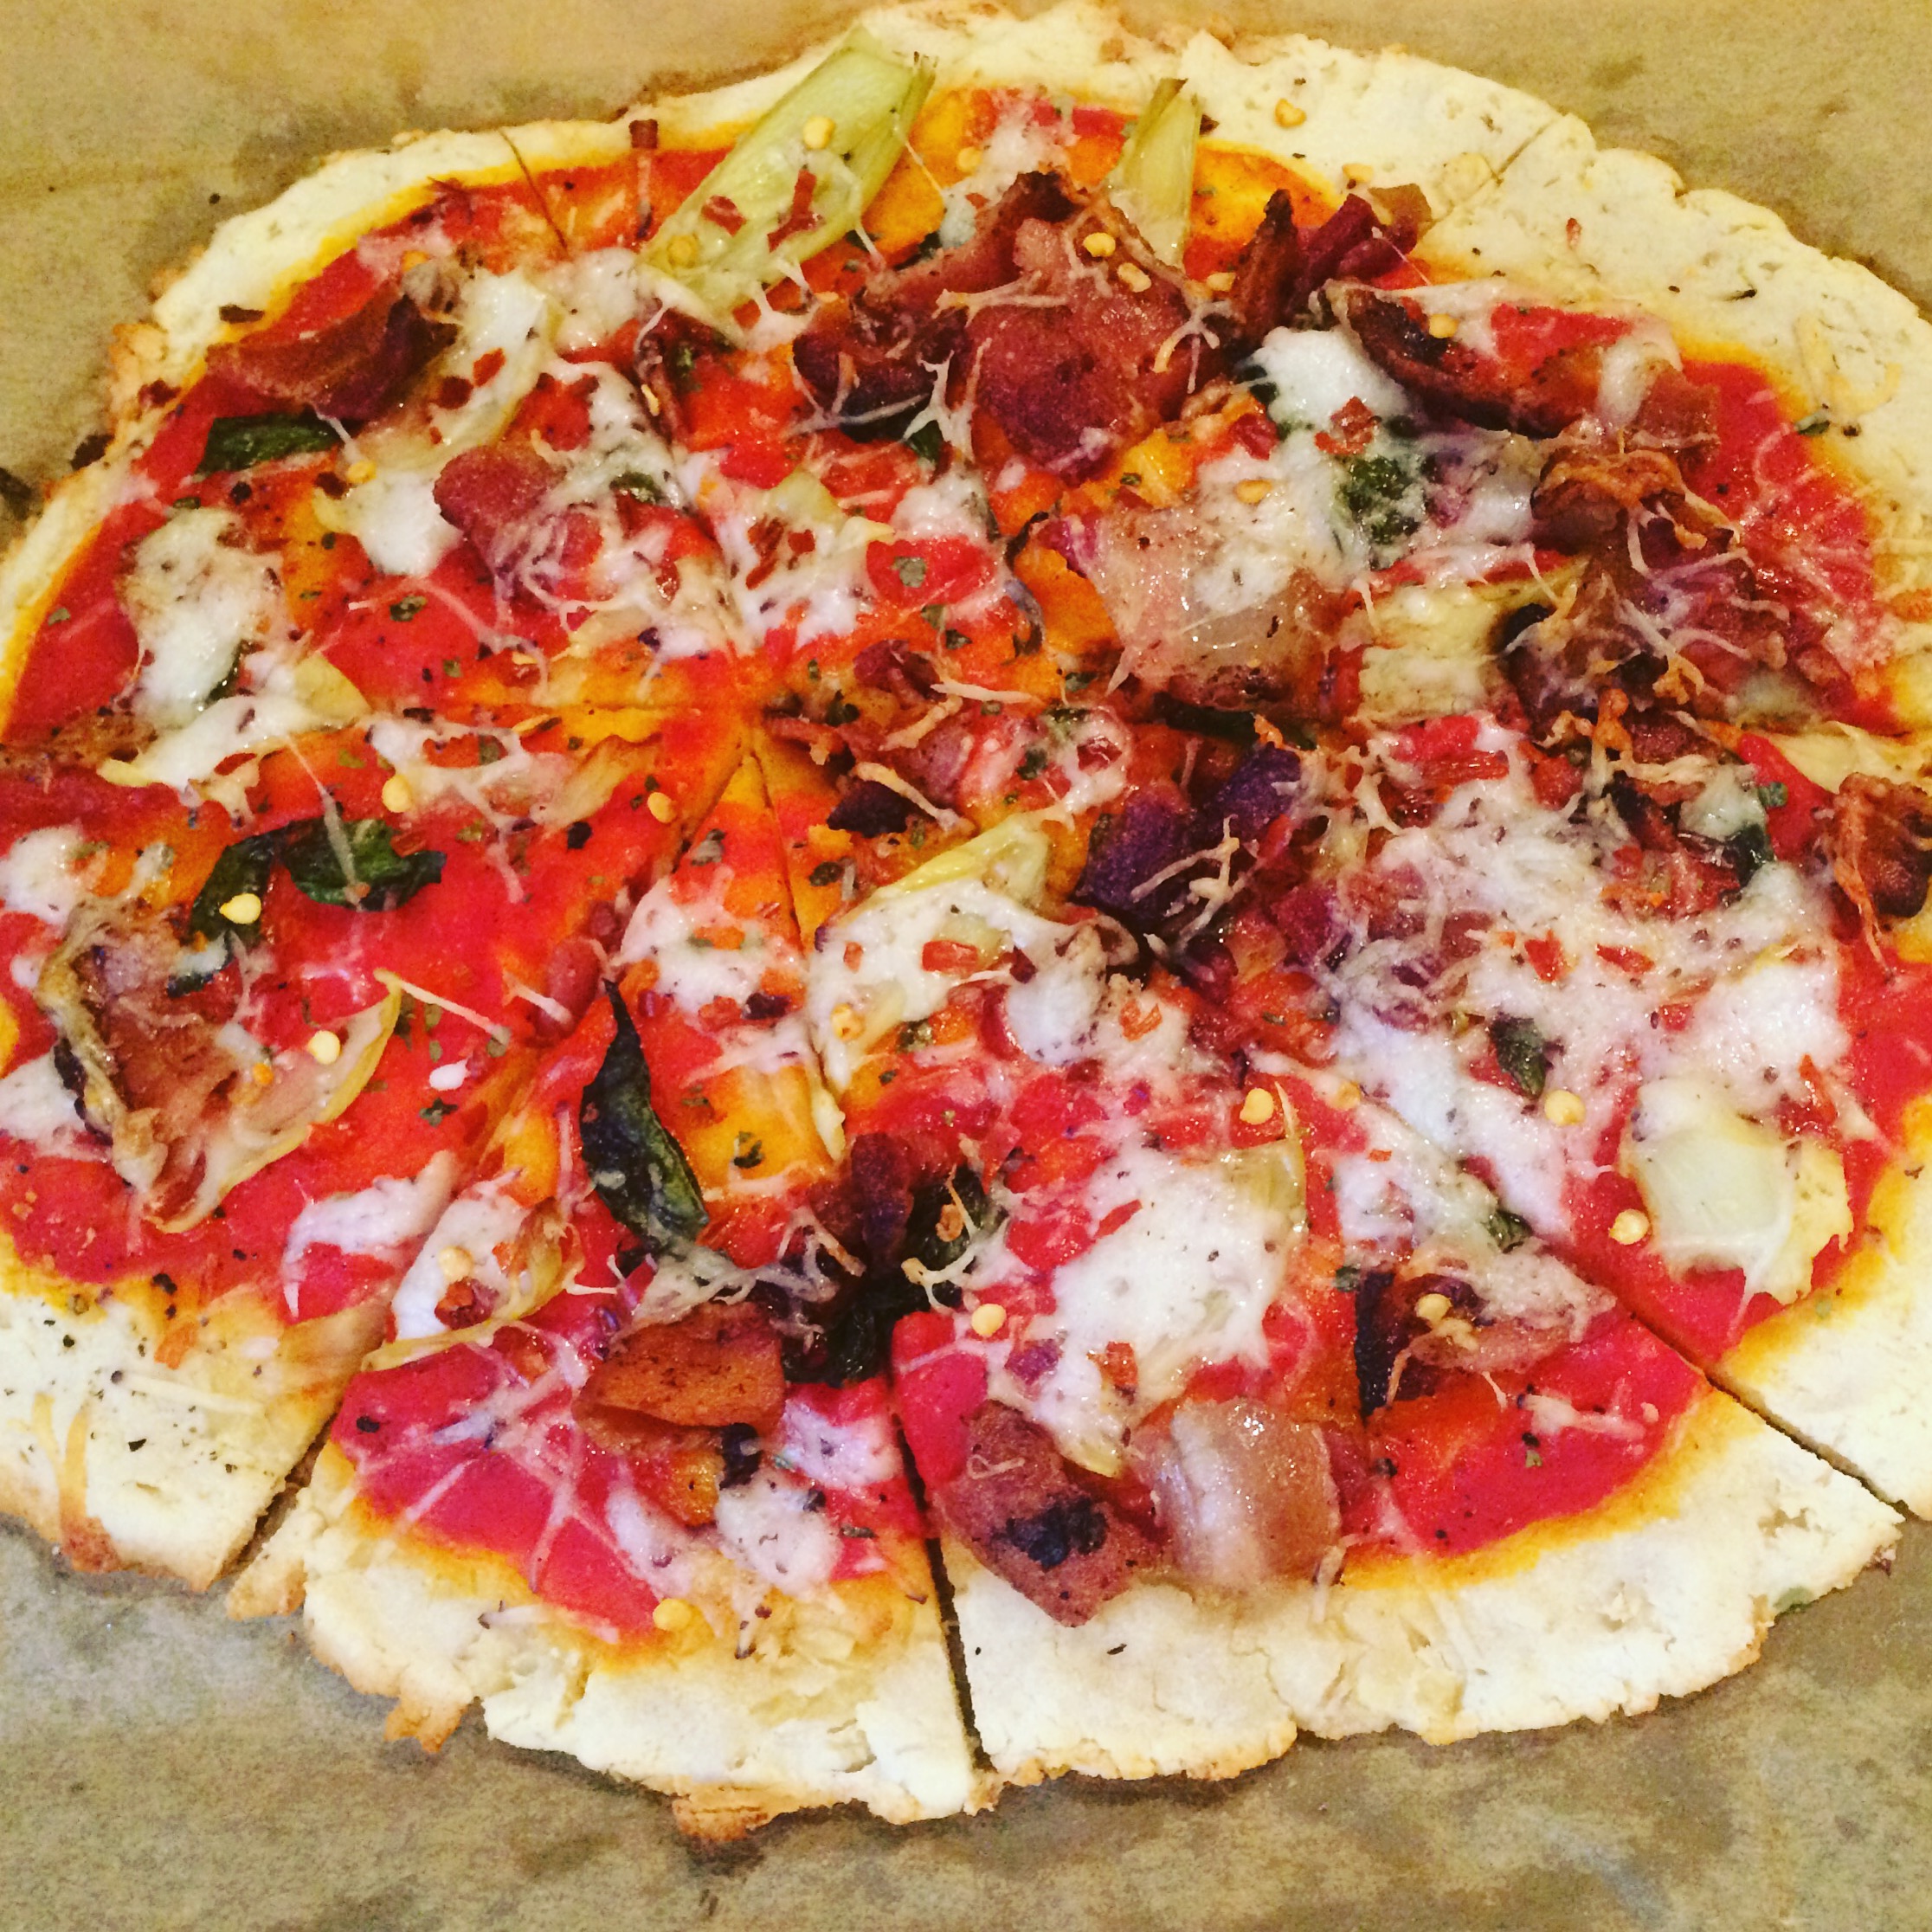
Here’s one of my finished pizzas.
——–
*Returning to the restaurant where I got glutened was not easy. A year after the incident, I chose a day to go, talked to the manager, and looked at the experience as an opportunity for the restaurant to look at their process of ensuring consumer safety. They took it very seriously, checked and rechecked my pizza, and I ate it without incident. The only reasons now that I can’t return and ever have it again is that their pizza sauce has alliums in it, which is a more recent confirmed food allergy for me. They also use xanthan gum in their crust, and I have found that this also does not work for me.
**If you can’t use coconut flour, you will want to substitute a flour that gives a drier texture, such as almond flour.


