It’s summertime, and while everyone else you know trots off to the local ice creamery, you’re wondering, “What can I have?” Wonder no more! It’s time for you to create your own dairy-free, low-sugar treat, ready in two hours.
Recently, an ice cream shop opened in the heart of the city in which I live. Last time I checked, dairy products, fake sugars, emulsifiers, and nuts are still things that turn my tummy inside out and leave me wishing I could die a quick and painless death. Therefore, no trip to the ice cream shop for me.
As for the entire town of Redmond, WA, it seemed they managed to camp out in front of this storefront in a long queue around the block each time the sun climbed in the sky. Even my husband managed to find a time to slip off to Molly Moon’s and grab himself a treat, returning home satisfied while his wife wept in her hands.
Freeze frame. Grr. Can you hear the grinding of my teeth as I smelled his milky breath?
While I did suggest that the next time he went out for ice cream he might ask if I would like some sorbet from a reputable source, I got to thinking that I should create my very own treat and then share that with all of you Hungry Minions out there who struggle with food allergies, intolerances, and autoimmune diseases which limit your choices. We deserve healthy, happy options. Yes we do!
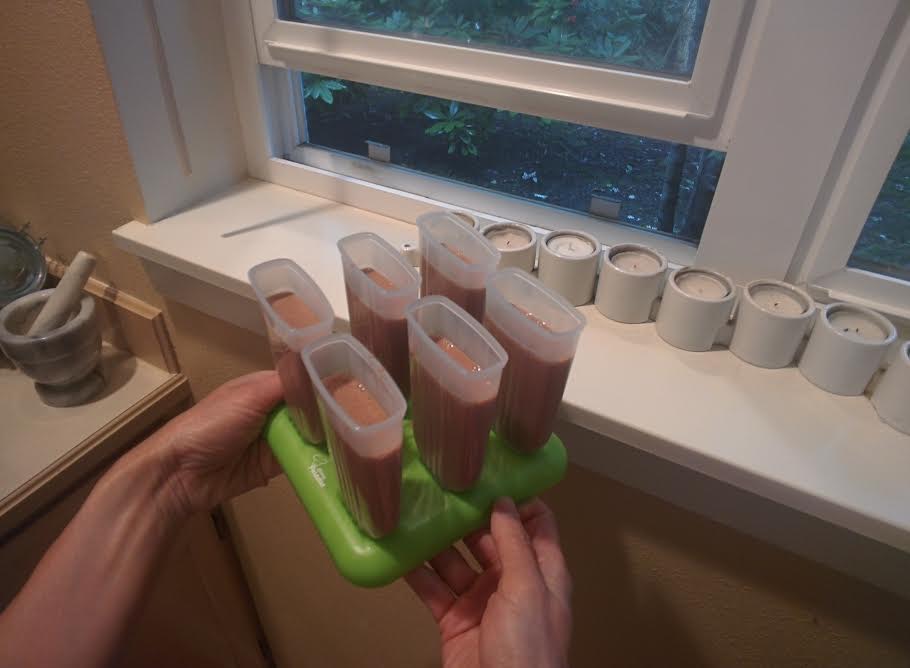
Armed with ice pop molds, essential oil samples from virtual friend Steph Lake, a high speed blender, and simple ingredients, I have created Chocolate Mint Coconut Milk Ice Pops!
Check it out!
What you will need:
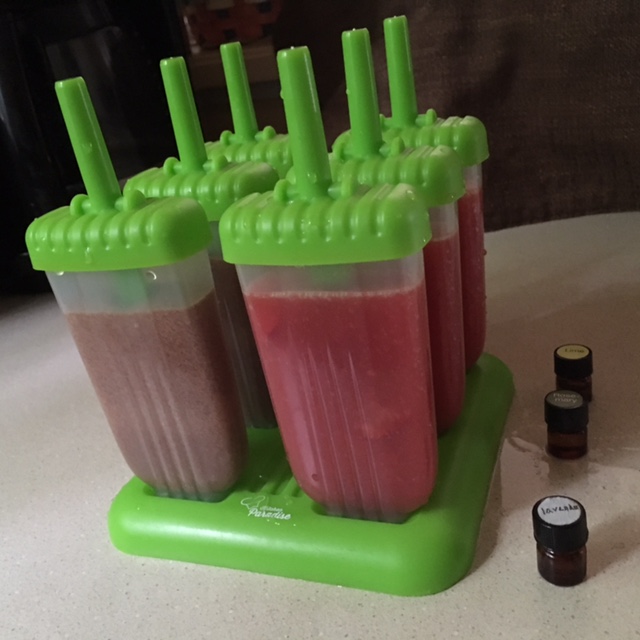
Ice Pop Molds — there are many shapes and sizes available. The ones in the picture are from Kitchen Paradise Groovy Pop Molds, which are dishwasher safe and BPA free. Plus they come in one of my favorite cheery colors, bamboo green.
A high speed blender — I use a Vitamix blender, because you can’t beat that 2.2 horsepower engine!
Ingredients:
2 teaspoons pure cocoa powder
4 tablespoons coconut milk (I buy BPA free, emulsifier free full fat coconut milk in a can)
Five large leaves of fresh mint (or just a few drops of mint essential oil)
2 tablespoons pure maple syrup (if you want even less sweetness)
1 cup filtered water
Optional:
1 cup cooked brown rice (to add protein)
Approximately 2 Tablespoons cacao nibs (great crunchy texture, extra protein)
Step 1:
Mix the ingredients you want from the top list in your blender at its highest setting for two minutes until fully pureed. If you want to add brown rice, mix that in as well, but don’t add the cacao nibs during this step.
Pour the blended contents into the ice pop molds to about 1/4 inch from the top, leaving room for the pop stick that you will add before freezing. If you dont’ wish to add cacao nibs, insert the ice pop sticks into each form.
Step 2.
If you want to add cacao nibs, freeze the ice pops for 20 minutes, and then using a small spoon, add up to a quarter teaspoon of cacao nibs per ice pop and mix thoroughly. The slightly frozen mixture will help the cacao nibs stay more evenly distributed in the suspension, instead of dropping to the bottom (which is actually the top of the ice pop). Return them to the freezer.
Allow the ice pops to freeze completely; approximately two hours.
When removing the ice pop from its form, you might wish to dip the ice pop form in warm water for a minute, which will help the form slip away from the ice pop without fully melting it.
You can try using different bases and/or adding essential oil to create different options, such as Strawberry and Ginger, Lemon and Basil, or Chocolate and Chili. By mixing the essential oil directly into a fruit base, you can see if you’d like to make a bunch of the same flavor in another batch.

Try experimenting with different bases, such as strawberry puree, and different flavors, such as ginger, lemon, or basil.
All I know is that come the next hot day of summer, I won’t be queuing up at Molly Moon’s, but reaching into my own freezer for a protein-enhanced treat that is dairy free, low sugar, allergen free, and delicious.
Keep making food fun again! And Happy Tum Tum, everyone!


