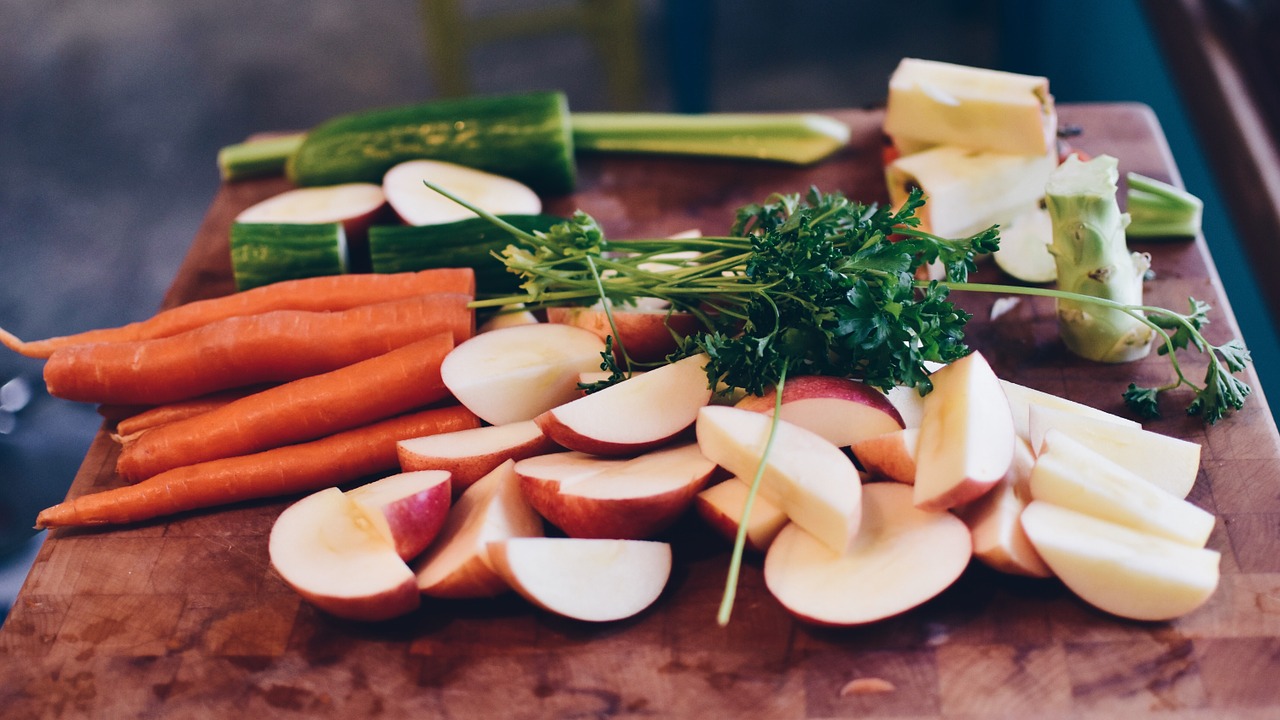
How do you move from wanting to eat a healthy diet to actually doing it? Read here about the basics of the scratch cooking kitchen. Photo from Pixabay (no attribution required).
When people share with me what is the hardest part about eating well, no matter what their diet, medical condition, or limitations, most of them do not tell me that they don’t know WHAT to eat.
They tell me that they don’t know how to change their lifestyle.
It’s your lifestyle that is getting in your way of eating well. They may have a list of foods, a meal plan set up by their nutritionist, and a doctor’s order to eat a diet free of grains and preservatives. They tell me that they get stuck on the how. How do I actually eat the things I know I am supposed to eat?
The how – that is, the lifestyle changes that makes eating healthy for your individual needs happen — intersects with an important activity and location: cooking real food, and shopping for, preparing, and cooking that real food from the grocery store or your garden to your table. Since there are few shortcuts that allow you to actually do this correctly (even food delivery services cannot cater to the needs of food allergic or medically-based nutritional profiles), I thought it was high time to start at the very beginning, so that anyone could jump in and get started.
Ready? Here’s my first post in a series on the basics of The Scratch Cooking Kitchen for the person with food allergies, Autoimmune Disease, and other medically necessary diets.
Whoa! Let’s Back Up And Understand Why We Need The Basics
Like so many others, I was introduced to the kitchen by way of my mother. I didn’t discover the magic of cookbooks until much later, when my mother introduced more westernized food options. Through my child eyes, cooking looked like witchcraft: a pinch of this, a splash from a bottle of that, kneading flour and water and yeast for a twice-risen dough for the Chinese version of a steamed pasty or packet, and deep frying a whole crispy duck in the a seasoned wok with its richly blackened patina.
By the time I entered college, I managed to cook a number of simple Chinese dishes, fry an egg, make a grilled cheese sandwich, steam cook rice on the stove top or in a rice cooker, and flash cook vegetables. I could work a knife to slice ginger root, onions and garlic, and wield a cleaver to chop a whole chicken to make a version of soy sauce chicken. A quiet student in the dorms, I made a few “Insta-friends” each time I cooked soy-sauce chicken or broccoli with beef on the four-burner stove on our dormitory floor.
But like many of us emerging from the carnage of the Betty Crocker Syndrome era, I would not say that I knew how to cook. There is a big difference between cooking a few dishes through trial and error, and knowing how to cook in general. To proclaim that I knew I how to cook, I thought I would need to know how to cook the basics of scratch cooking that would allow me to subsist from my own kitchen without the use of processed foods and common shortcuts. And I used shortcuts. I baked those pre-formed Pillsbury biscuits that exploded out of a pressurized canister; I poured a chocolate cake out of box and added oil, eggs, and water. I wasn’t a cook. I could read directions. Just like a baker would never bow to using store-bought cream, a person who called him or herself a cook would need to have at least a rudimentary experiential understanding of scratch cooking.
But what exactly are those basics elements of a scratch cooking kitchen? And applied to the kitchen of a person who needs a medically-necessary, no-processed food nutritional profile, what are those key tenets of today’s scratch cooking “must have’s” that would allow you to truly become your own best chef?
Scratch Cooking Kitchen Basics: The Equipment
Whether you are a teenager living at home with other family members, a college student away at the dormitories or an off-campus apartment, a young professional living with a roommate, or the head of a household cooking for yourself and others, you will need some basic equipment if you want to become a master a scratch cooking.
If you share items with others, cover baking sheets with aluminum foil for easy cleanup. Anything that is made of wood should not be shared with restricted foods to prevent cross contamination.
At minimum, you will need:
2 Cutting Boards (one for meats, and one for everything that is not meat)
1 Medium sized chopping knife
1 small sized cutting or parring knife (optional)
2 Large cooking spoons , one slotted and one solid (covered handles instead of metal will prevent heat transfer)
1 rolling pin without handles (if you plan on doing baking)
1 tool of your choice for turning meats or vegetables in the oven ( tongs of some kind)
1 can opener (because you’ll eventually have to buy something that comes from a can!)
2 large baking sheets or baking pans (for roasting vegetables)
1 roasting pan with slotted shelf
1 large pan (for frying, cooking/steaming vegetables, or pan cooking meats)
1 sauce pan with built-in sieve in the lid
1 large and one medium sized mixing bowls
1 set measuring spoons and measuring cups
oven mitts, or heat safe hand protector “claws” made of silicone
4-5 hard plastic containers and lids for storing food in the refrigerator or freezer; 4-5 medium sized canning jars and lids can also be used to help keep foods fresh, or for fermenting food
WHAT? No food processor, rice cooker, blender, or Instant Pot? No whisk? Well, I did say, “At minimum.” Keep reading.
Better Yet, save money and make space for the following:
Instant Pot 7 Way Fast Pressure Cooker (you can use it as a rice cooker as well)
Vitamix or High Power Blender
Extra tools such as cleaver, whisk, extra long cooking chopsticks (great if you have a wok or very large frying pan), specialty spatula (silicone that’s heat safe), etc. Most of these you can do without if you’re just starting out.
If you wanted to get really fancy, you could purchase a food processor. However, if you have a high powered blender, you may find that you really don’t need another counter appliance for basic scratch cooking. After all these years, I still don’t own a food processor. I bought a mandoline slicer for vegetables, and I don’t use it as much as I thought I would.
Scratch Cooking Kitchen Basics: The Food
Everyone is going to differ in terms of their weekly needs. One of the best ways to begin scratch cooking is plan a week’s worth of meals (or use a project management tool like Trello to help you get organized) and see what you have left over or what needs to be replaced. This can give you an idea of what is going to be on your “lather rinse repeat” food cycle.
The one good thing about mastering the basics of scratch cooking when you have a restrictive diet is that you don’t have to buy many kinds of foods; you just buy the same 25-30 foods over and over again, and then you can add some “fancy foods” on the days you have a little more time to mess around in the kitchen.
Here’s a sample of my repeated foods that I buy on a weekly basis:
1 large box of mixed greens
2-3 sweet potatoes
1 large bunch kale
1 large fennel bulb
1 large head cauliflower
3 medium sized broccoli heads
Fruits, including lemons and limes
1 package of nitrite-free bacon
1 dozen cage free pastured raised brown eggs
1 roast
1 chicken, whole
1 lb. fish or shellfish
Restock: bones for bone broth (source from online or your local butcher)
Next, determine the foods you will eat frequently but do not need to be purchased fresh. These are your few low process foods you may decide to buy in bulk to save money, and you might buy these once a month, or once every three to four months. Here’s an example:
1 large bag of brown basmati rice
1 small bag of white rice
1 medium container arborio (risotto) rice
Annie Chun’s brown rice pho noodle (6 boxes per order)
Tinkyada brown rice spaghetti noodle
Nature’s Value coconut milk (12 cans per box)
Coconut oil (I’ve become a fan of Banka coconut products)
Gluten free baking flour of your choice (I buy Arrowhead Mills coconut flour and tapioca flour)
Cacao powder (for making protein based shakes, and sprinkling on an occasional dessert)
Apple Cider Vinegar and Rice Vinegar
Scratch Cooking Kitchen Basics: Herbs and Spices
Finally, your food won’t taste right to you without the basic spices and herbs. Here are the basics I keep in my larder:
Pink himalayan salt
Peppercorns
Cinnamon and Nutmeg* (nutmeg is a common allergen outside the top 8)
Thyme, Tarragon, Rosemary, and Bay Leaves
Star Anise (great in soups and stews)
Chili flakes (*not AIP. You can find ones that do not include dried onion or garlic)
Coconut aminos (replaces soy sauce and tamari)
Liquid Smoke (for giving meats a smoke flavor, use sparingly, *not AIP)
Because some spices really do give more flavor, I will sometimes go to my favorite spice shop in Seattle, and drop a wad of dough (no pun intended!) for some unusual spices.
Scratch Cooking Kitchen Basics: For Cleaning Up
Finally, use a separate sponge and scrubber for cleaning your kitchen tools, dining ware, and utensils, and prevent cross contamination with the foods of others in your household by cleaning surfaces and running everything through a dishwasher, if possible.
Well, there you have it — the basics of Scratch Cooking. See, that wasn’t so bad, was it?
So, if you’re wondering what to do with all of this, I”ll be continuing with this series on Scratch Cooking Basics, which is essential: Learning to Cook Without a Recipe. In the meantime, add what you need to get started in stocking your refrigerator and larder, and try some basic recipes that conform to your specific requirements. Don’t worry if they aren’t “perfect. For now, if they are palatable, consider your goal of learning the basics of a scratch cooking kitchen accomplished.


